Key Takeaways
-
Balance water chemistry to pH 7.2-7.6 and test alkalinity and calcium hardness before closing; unbalanced water causes corrosion and scale buildup during the off-season.
-
Drain all equipment completely including pumps, filters, and heaters, then add pool antifreeze to remaining lines; water left in equipment can freeze and crack components, causing expensive damage.
-
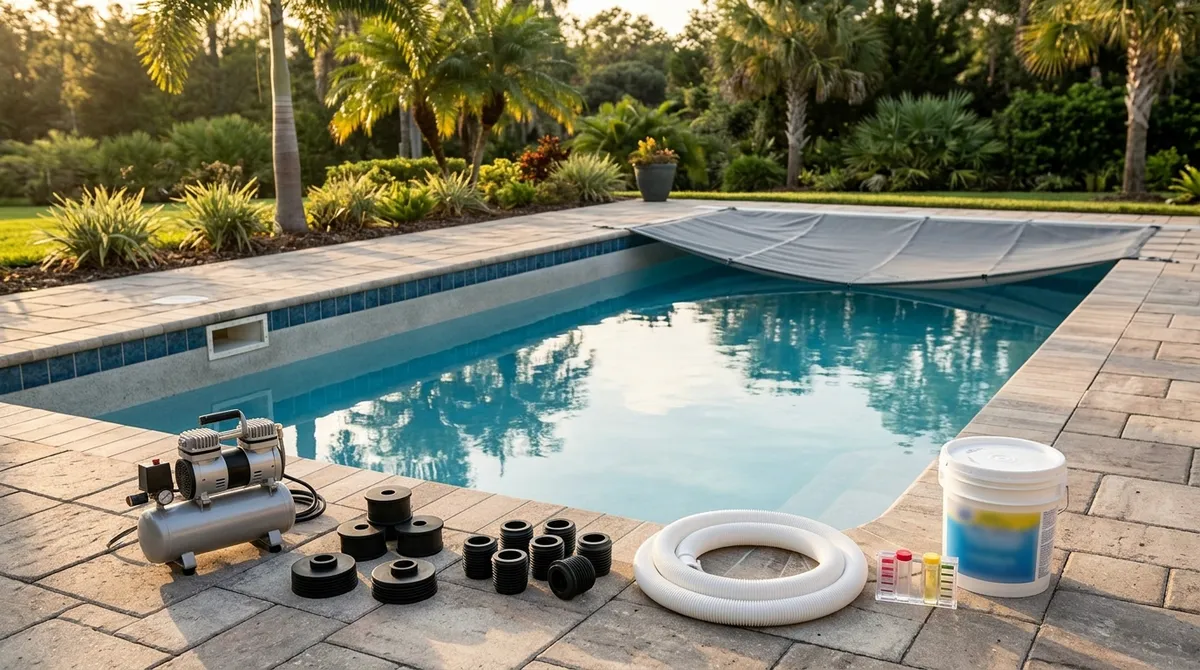
Hire a professional to blow out plumbing lines with an air compressor and install winterizing plugs; improper technique can crack pipes and cause costly damage.
-
Lower water level 4-6 inches below the skimmer for inground pools (or 16-18 inches if using a mesh cover) to protect skimmers and plumbing from cold-weather damage.
-
Deep clean your pool by skimming, brushing, and vacuuming before closing; organic matter left in water decomposes over winter, causing stains, algae growth, and chemical imbalances.
-
Install a safety cover for inground pools or an above-ground cover with an air pillow; a proper cover prevents debris accumulation, stops algae growth, and protects against accidental falls.
Your pool has been the heart of summer fun. But as cooler months roll in, it needs some extra attention. Pool winterization is the process of preparing your pool for the off-season. Done right, it protects your equipment, keeps your water clean, and saves you money on spring repairs. Done wrong? You could be looking at cracked pipes, algae blooms, and expensive fixes.
The good news is that winterizing your pool doesn’t have to be complicated. Whether you’re a first-time pool owner or a seasoned pro, these 11 steps will walk you through everything you need to know. And if you’d rather leave it to the experts, professional help is always just a phone call away.
Let’s dive in!
Why Pool Winterization Matters in Tampa
Tampa doesn’t get the harsh winters that northern states do. But that doesn’t mean your pool is off the hook. Even mild Florida winters can bring temperature swings that stress your pool equipment. Leaving your pool unmaintained during winter can lead to algae growth, chemical imbalances, and debris buildup. According to the EPA Pool Resources, proper pool maintenance year-round also supports water efficiency and conservation. Taking the time to properly close your pool each season is one of the smartest investments you can make as a pool owner.

The 11 Essential Pool Winterization Steps
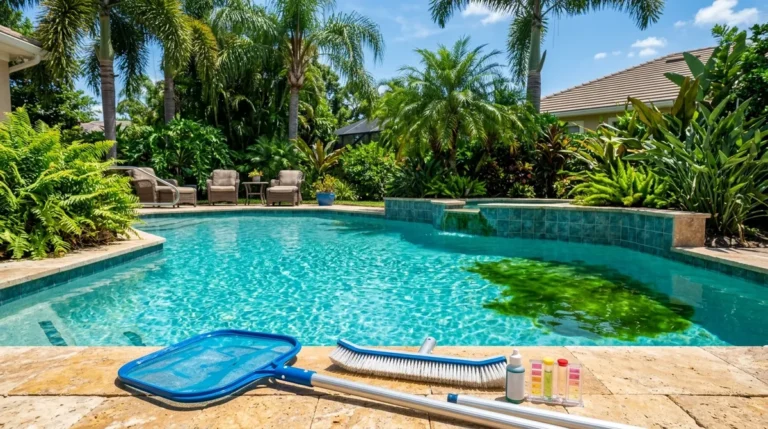
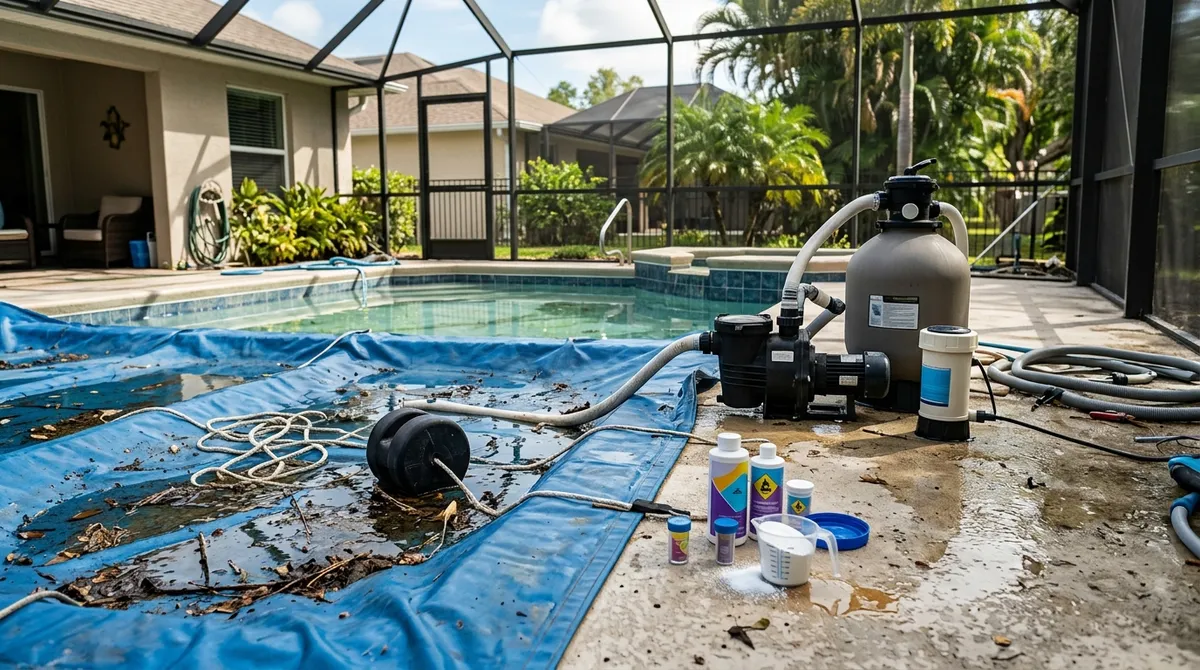
Step 1: Deep Clean Your Pool
Start with a thorough cleaning. Skim the surface to remove leaves and debris. Brush the walls and floor to loosen any buildup. Then vacuum everything out. This step matters more than most people realize. Organic matter left in the water will decompose over winter. That creates stains, encourages algae, and throws off your water chemistry. A clean start means a clean spring opening.
Step 2: Clean Your Filter
Your filter works hard all season long. Before closing up, give it a proper clean. Backwash a sand or DE filter, or rinse out a cartridge filter thoroughly. A dirty filter going into winter is a recipe for problems come spring. This is also a great time to check for any wear and tear that might need repair.
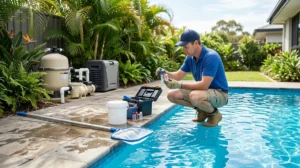
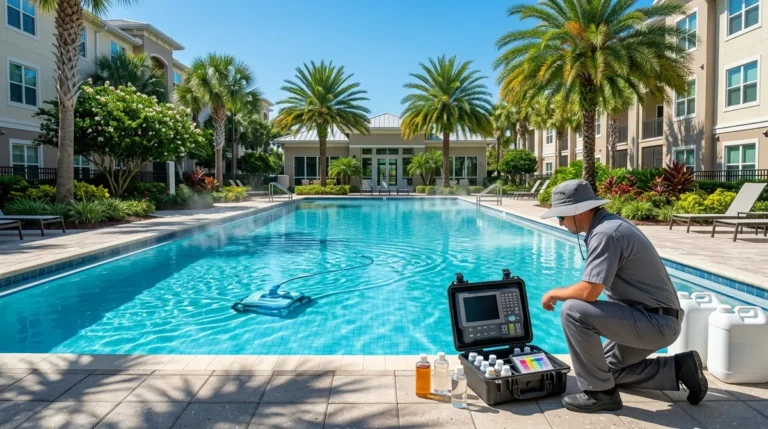
Step 3: Test and Balance Your Water Chemistry
This is one of the most important steps in pool winterization. You’ll want to test for pH, total alkalinity, and calcium hardness. The ideal closing pH is between 7.2 and 7.6. Balanced water prevents corrosion and scale buildup during the off-season. For the most accurate results, bring a water sample to a professional pool store. The FSPA recommends annual water testing as part of responsible pool ownership in Florida.
| Chemical Parameter | Ideal Range | Why It Matters |
|---|---|---|
| pH | 7.2 – 7.6 | Prevents corrosion and scale |
| Total Alkalinity | 80 – 120 ppm | Stabilizes pH levels |
| Calcium Hardness | 200 – 400 ppm | Protects plaster and equipment |
| Free Chlorine | 1 – 3 ppm | Keeps water sanitized |
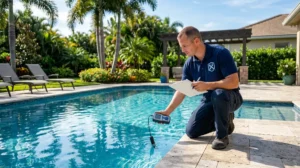
Step 4: Shock Your Pool
Once your water is balanced, it’s time to shock. Use a double dose — typically 2 pounds of calcium hypochlorite per 10,000 gallons of water. This kills any lingering bacteria and algae before you close up. Run your pump for at least 24 hours after shocking so the chemicals distribute evenly throughout the water. Don’t cover the pool until chlorine levels drop back to a normal range.
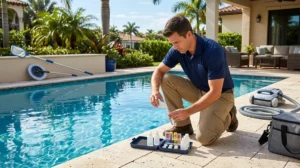
Step 5: Add Winterizing Chemicals
After shocking, add a winterizing chemical kit. A standard recommendation is 1 quart of algaecide per 10,000 gallons. You may also want to add stain and scale prevention products as well as a WinterPill, which slowly releases clarifying agents throughout the off-season. These chemicals work together to keep your water clean and clear while the pool sits unused.
Here’s a quick checklist of winterizing chemicals to have on hand:
- Pool shock (calcium hypochlorite)
- Winterizing algaecide
- Stain and scale preventer
- WinterPill or slow-release clarifier
- Pool antifreeze (for plumbing lines)
Step 6: Lower Your Water Level
For most inground pools, you’ll want to drop the water level 4 to 6 inches below the skimmer. If you’re using a mesh cover, drop it even lower — about 16 to 18 inches below the skimmer. For above-ground pools, lower the water just below the skimmer opening. This helps protect your skimmer and plumbing from any cold-weather damage.
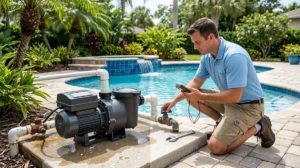
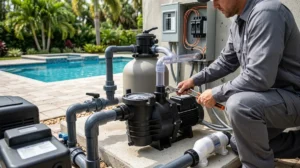
Step 7: Drain and Winterize Your Equipment
This step is critical. Water left in your pump, filter, and heater can cause serious damage if temperatures drop. Here’s what to do:
- Turn off the pump and disconnect power.
- Drain the pump, filter, and heater completely.
- Remove drain plugs and store them somewhere safe.
- Add pool antifreeze to any remaining water in the lines.
- Store removable accessories like ladders and baskets indoors.
Skipping this step is one of the most common — and most costly — mistakes pool owners make during winterization.
Step 8: Blow Out Your Plumbing Lines
This is where things get technical. Blowing out your pool lines removes any remaining water from the pipes. You’ll use an air compressor to push air through each line, then install winterizing plugs to seal everything up. Improper technique here can crack pipes or damage fittings. The IPSSA strongly recommends hiring a trained professional for this step to avoid costly plumbing damage.
Key tips for blowing out pool lines:
- Use the correct PSI for your pipe type
- Work one line at a time
- Install rubber expansion plugs immediately after blowing each line
- Double-check every plug is secure before moving on
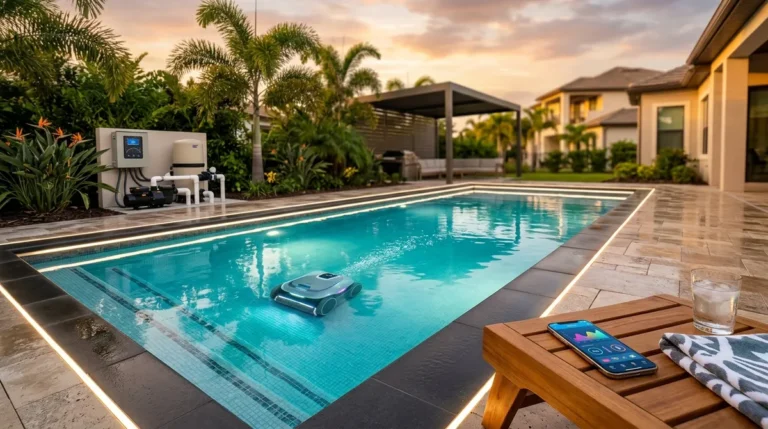
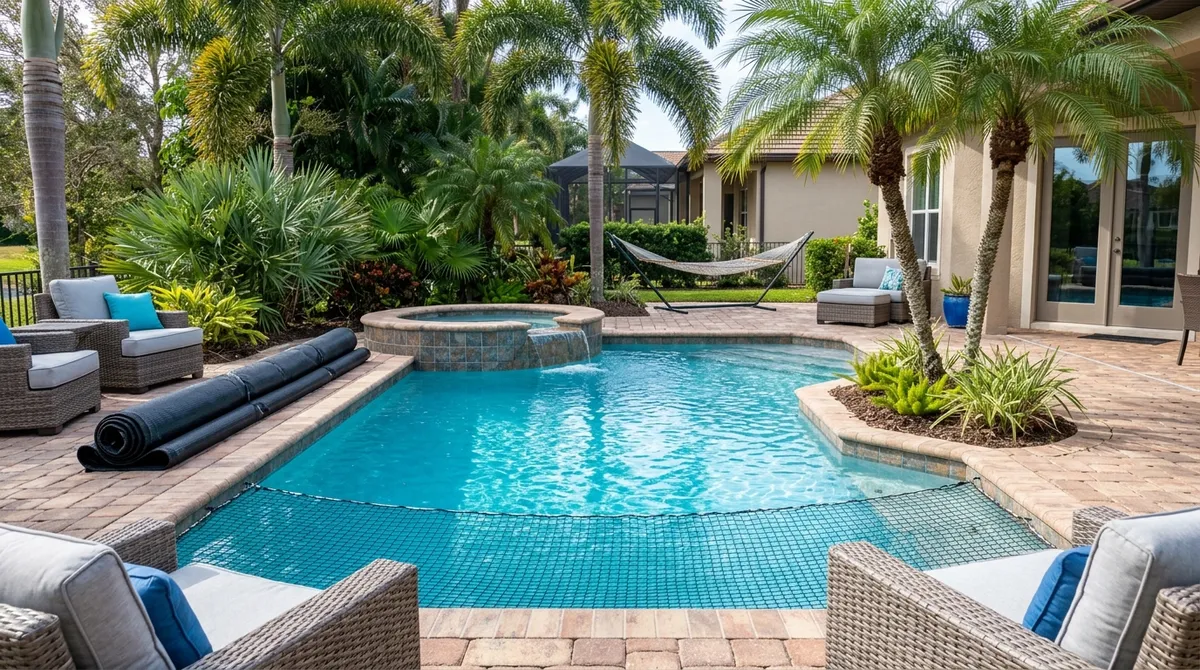
Step 9: Install Your Winter Cover
A good winter cover is your pool’s best defense during the off-season. For inground pools, a safety cover is the gold standard. It keeps debris out, prevents accidental falls, and holds up against wind and rain. For above-ground pools, use a cover with an air pillow underneath. The pillow cushions ice expansion and prevents the cover from sagging into the water. Make sure the cover is secured tightly around all edges.
| Pool Type | Recommended Cover | Key Benefit |
|---|---|---|
| Inground Pool | Safety cover with anchors | Safety, debris protection |
| Above-Ground Pool | Cover with air pillow | Ice pressure relief |
| Commercial Pool | Heavy-duty safety cover | Compliance and liability protection |
Step 10: Inspect for Repairs Before Closing
Before you button everything up, walk around and inspect your pool and equipment. Look for cracks in the shell, damaged tiles, worn gaskets, or any equipment that’s struggling. Winter is actually the perfect time to schedule repairs. Pool cleaning services in Tampa can handle repairs while your pool is closed, so everything is ready to go come spring. Don’t wait until opening day to discover a problem that could have been fixed months earlier.
Step 11: Schedule a Professional Winterization Service
Some steps in pool winterization — like blowing out lines and balancing chemicals — are best left to professionals. A trained pool technician has the tools and experience to close your pool safely and correctly. Whether you manage a backyard pool or a commercial facility, having an expert handle your winter closing gives you total peace of mind. The team at Panther Pools brings certified expertise and a genuine care for your pool’s long-term health.
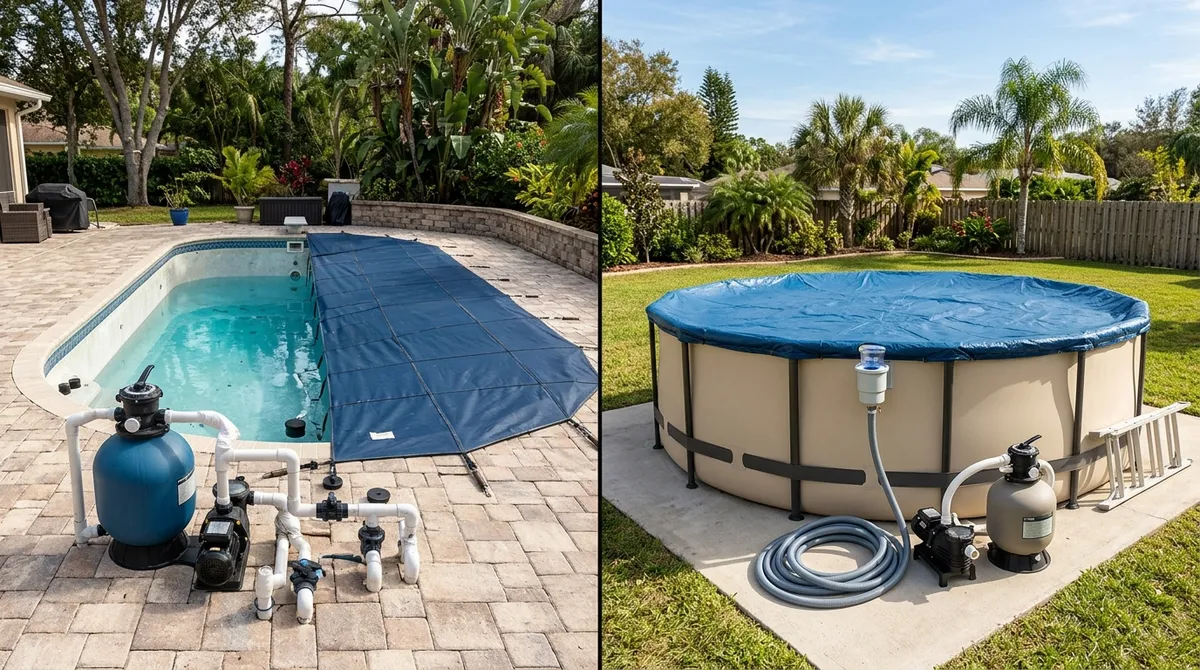
Inground vs. Above-Ground Pool Winterization: Key Differences
The winterization process has a few important differences depending on your pool type. Here’s a quick side-by-side comparison:
- Inground pools require line blowing with an air compressor and use anchored safety covers.
- Above-ground pools use air pillows under their covers and have simpler plumbing to drain.
- Inground pools need water lowered 4-18 inches below the skimmer depending on cover type.
- Above-ground pools only need water lowered just below the skimmer opening.
- Both pool types benefit from the same chemical treatment process.
Common Pool Winterization Mistakes to Avoid
Even experienced pool owners sometimes make mistakes during the winterization process. Here are the most common ones to watch out for:
- Skipping the water balance step — Unbalanced water corrodes equipment and stains your pool.
- Not cleaning before closing — Debris left in the pool decomposes and causes major algae problems.
- Forgetting to drain equipment — Water in pumps and heaters can freeze and crack components.
- Using the wrong cover — A flimsy cover won’t protect against debris or wind damage.
- DIY line blowing without experience — This can crack pipes and cost hundreds in repairs.
Tips for a Smooth Spring Opening After Winterization
Great winterization sets you up for a smooth spring opening. When the warmer months return, you’ll appreciate the effort you put in now. Here are a few things to keep in mind:
- Start the opening process a few weeks before you plan to swim.
- Remove and clean your winter cover carefully before storing it.
- Reconnect and prime all equipment before turning anything on.
- Test water chemistry and re-balance before adding swimmers.
- Schedule a professional inspection to catch any winter damage early.
Homeowners in West Chase and surrounding Tampa communities can count on trusted local service all year long. Check out pool maintenance in West Chase or explore Westchase pool service options for comprehensive seasonal support.
Wrapping It All Up
Pool winterization is one of the most important things you can do for your pool. It protects your investment, keeps your water healthy, and makes spring opening a breeze. Whether you tackle it yourself or bring in a professional, following these 11 steps will set your pool up for success.
Don’t let the off-season sneak up on you. Take action now to keep your pool in top shape all year long. Ready to get started with expert help? Reach out to the Panther Pools team today for a free estimate and let us handle your pool winterization the right way.
FAQs
Q: Do I need to winterize my pool in Tampa, Florida?
A: Great question! While Tampa winters are mild, pool winterization is still a smart move. Temperature swings can stress your equipment, and leaving your water untreated invites algae and chemical imbalances. A proper winterization keeps your pool healthy and saves you money on spring repairs.
Q: Can I winterize my pool without draining all the water?
A: Absolutely! You should never fully drain an inground pool — it can actually cause the shell to crack or pop out of the ground. You only need to lower the water level 4 to 6 inches below the skimmer for inground pools. The rest is all about chemical treatment and equipment care.
Q: What chemicals do I need for pool winterization?
A: You’ll need pool shock, a winterizing algaecide, a stain and scale preventer, and optionally a WinterPill or slow-release clarifier. Use 2 pounds of shock and 1 quart of algaecide per 10,000 gallons as a starting point. A professional can help you dial in the exact amounts for your pool’s specific needs.
Q: How do I blow out my pool lines for winterization?
A: Blowing out pool lines involves using an air compressor to push water out of your plumbing, then sealing the lines with winterizing plugs. It’s an important step that prevents freeze damage, but it requires the right equipment and technique. We honestly recommend leaving this one to a professional to avoid cracked pipes!
Q: When is the best time to winterize my pool?
A: In Tampa, late fall is typically the right window — usually around November when nighttime temperatures start to cool consistently. You don’t want to wait too long, as algae can take hold quickly in warmer water. A good rule of thumb is to close your pool before temperatures regularly dip below 65°F.