Key Takeaways
-
Always turn off power at the circuit breaker and use a non-contact voltage tester before any pool light repair—never rely on just the wall switch, as electricity near water is extremely dangerous.
-
You can replace a pool light bulb without draining your pool by pulling the fixture to the deck using the slack cord in the conduit; always replace the gasket every time you open the fixture to prevent water ingress.
-
Match the exact wattage of replacement bulbs (300W, 400W, or 500W for 120V; 300W for 12V) as using the wrong wattage can overheat the fixture and create a safety hazard.
-
Common pool light failures include burnt-out bulbs (rated for ~800 hours), failed gaskets allowing water ingress, tripped GFCI breakers, and corroded fixtures from pool chemicals—a tripped breaker is often the first thing to check.
-
Hire a professional for full fixture replacements, wiring repairs, conduit work, and GFCI installation; DIY is only safe for bulb replacements and gasket changes when safety protocols are strictly followed.
-
Prevent future problems by maintaining balanced pool chemistry, inspecting fixtures during routine maintenance, testing your GFCI breaker periodically, and considering an upgrade to LED pool lights for longer lifespan and energy efficiency.
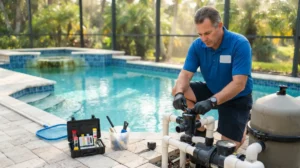
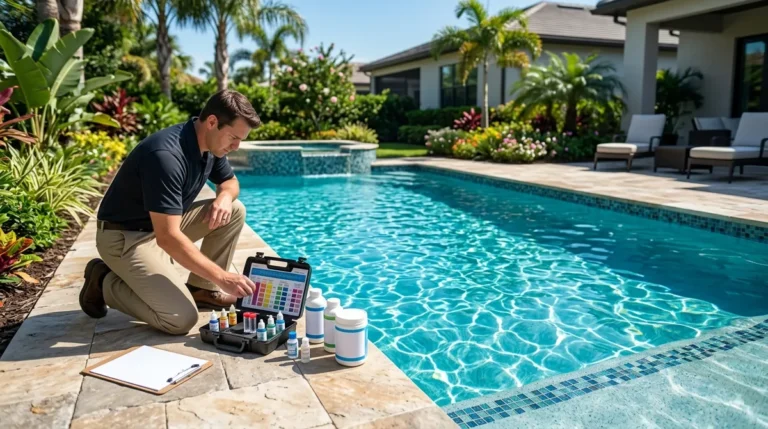
There’s nothing quite like a glowing pool on a warm Tampa evening. That soft, shimmering light makes your backyard feel magical. But when your pool light stops working, things can feel a little dim — literally. Whether it’s a burnt-out bulb, a leaking seal, or a faulty fixture, pool light repair is something every pool owner will face at some point. The good news? Many common issues are easier to fix than you might think. And for anything more complex, having a trusted professional in your corner makes all the difference. This guide walks you through what causes pool light problems, how repairs are handled, and when it’s time to call in the experts. Let’s get your pool shining bright again!
Why Pool Lights Stop Working
Before jumping into repairs, it helps to understand what’s going wrong. Pool lights operate in a tough environment — they’re constantly submerged, dealing with water pressure, chemicals, and temperature changes. It’s no wonder they occasionally need attention.
Here are the most common reasons pool lights fail:
-
Burnt-out bulbs: Wet-niche pool light bulbs have a rated life of around 800 hours. Over time, they simply burn out like any other bulb.
-
Water ingress: If the gasket or seal fails, water gets inside the fixture. This causes corrosion and can destroy the bulb and wiring.
-
Conduit leaks: Water can travel through the conduit (the tube that holds the wiring) and cause electrical issues or even pool water loss.
-
Tripped GFCI breaker: Pool lights run through Ground Fault Circuit Interrupter (GFCI) protection. A tripped breaker is often the culprit behind a light that suddenly goes dark.
-
Corroded fixtures: Long-term exposure to pool chemicals can corrode metal components inside the light housing.
-
Faulty wiring: Worn or damaged wires can cause flickering, dimming, or complete failure.
Knowing the cause helps you (or your pool technician) pick the right solution quickly.
Safety First: What You Must Do Before Any Repair
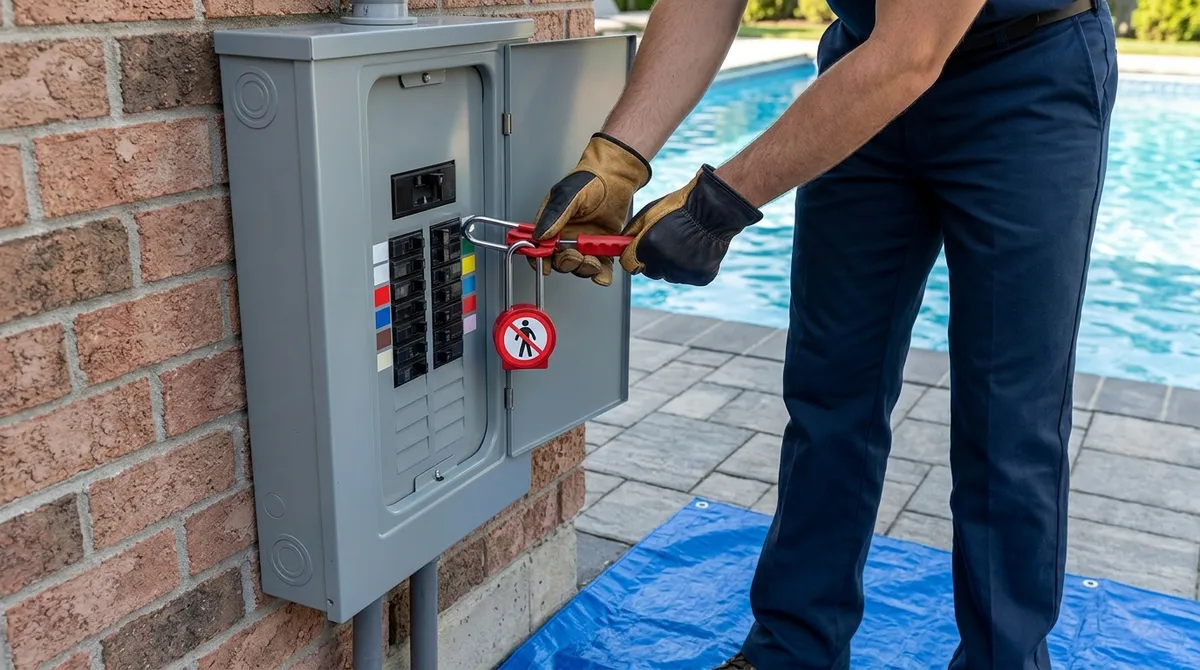
This is the most important section in this entire guide. Pool light repair involves electricity near water — a genuinely dangerous combination. Safety steps are non-negotiable.
-
Turn off power at the circuit breaker: Never just flip the wall switch. Go to your breaker panel and shut off the circuit that powers your pool lights completely.
-
Test with a voltage tester: Even after turning off the breaker, use a non-contact voltage tester to confirm there’s zero electrical current at the fixture. This simple tool can be a lifesaver.
-
Check your GFCI protection: For 120V pool lights, GFCI protection is required by electrical code. This also applies to any receptacles within 20 feet of the pool water. If your setup doesn’t have GFCI protection, that needs to be addressed before anything else.
-
Wear protective gear: Goggles and non-slip footwear are a must, especially if you’re working near wet surfaces.
-
Never work alone: Always have someone nearby when working around pool electrical components, just in case.
If you’re ever unsure about the electrical side of things, please stop and call a professional. No pool light is worth risking your safety.
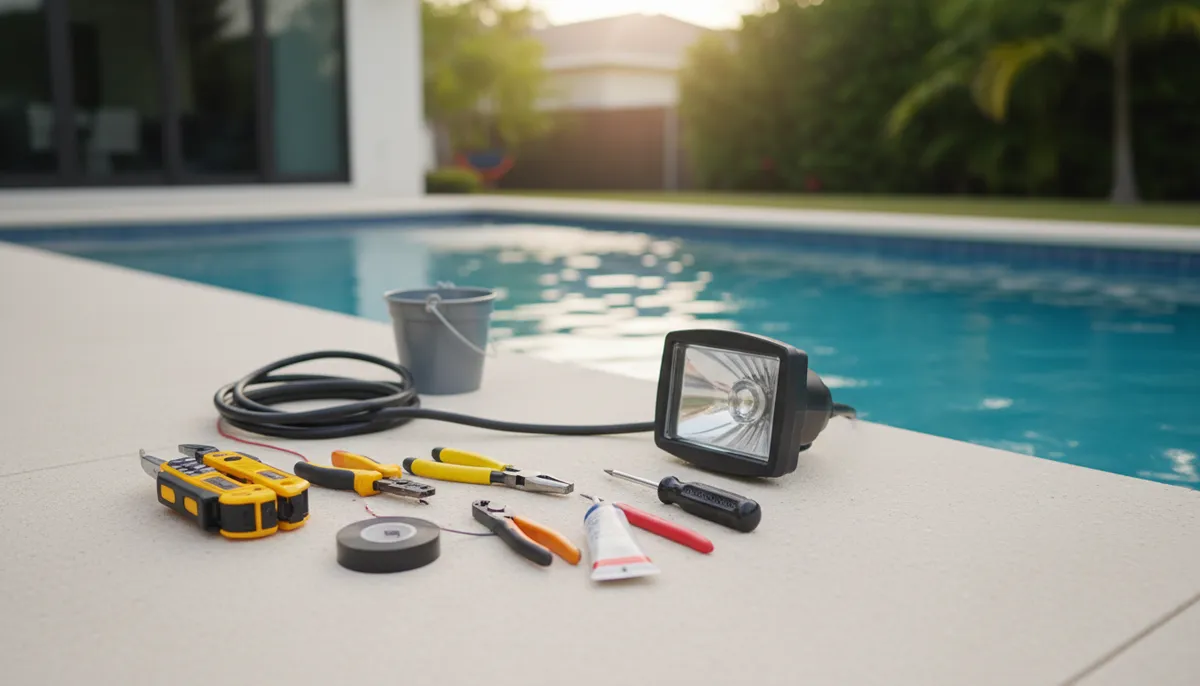
Tools You Will Need for Pool Light Repair
Having the right tools ready before you start saves time and frustration. Here’s a quick list of what’s typically needed:
-
Flathead and Phillips screwdrivers
-
Non-contact voltage tester
-
Multimeter (for electrical checks)
-
Replacement bulb (matching the correct wattage — 300W, 400W, or 500W for 120V units; 300W for 12V units)
-
Replacement gasket or O-ring
-
Silicone sealant or pool putty
-
Safety goggles
-
Pull tape or fish tape (for full fixture cord replacements)
-
Dish soap (used as a lubricant when threading cords through conduits)
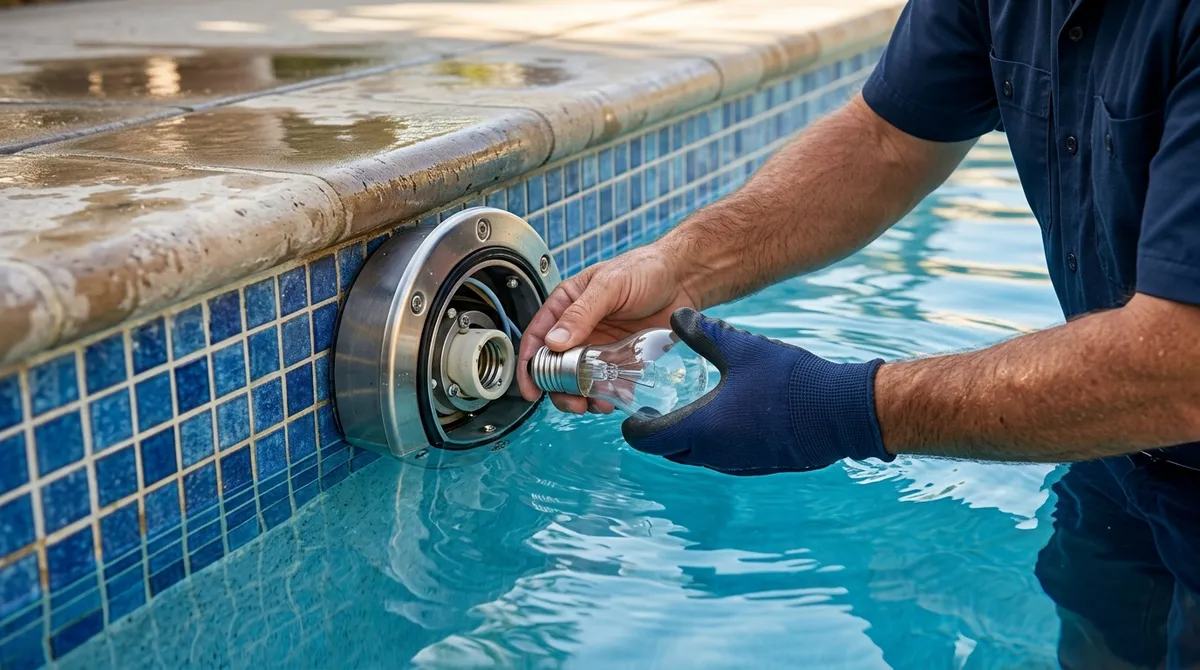
How to Replace a Pool Light Bulb Step by Step
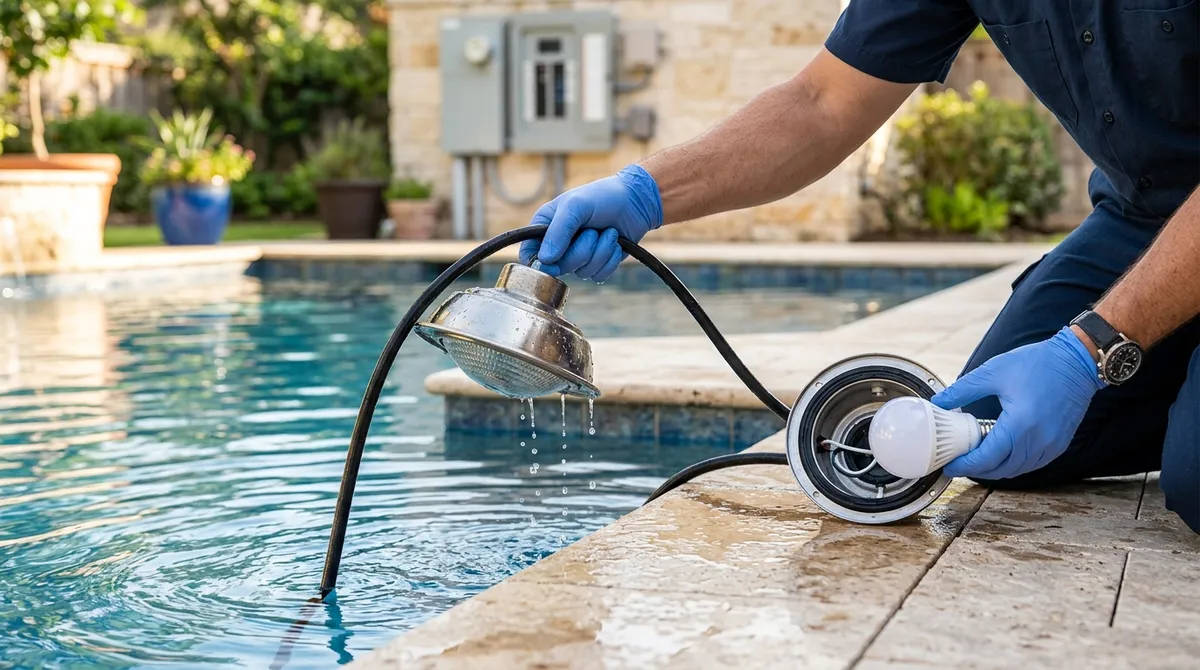
The most common pool light repair is a simple bulb replacement. Here’s the great news — you don’t need to drain your pool to do it! The fixture can be pulled right up to the pool deck using the cord attached to the back of the light.
-
Turn off power: Shut off the breaker and verify with a voltage tester (as covered above).
-
Remove the fixture screw: There’s typically one screw at the top of the light fixture. Remove it carefully.
-
Pull the fixture to the deck: The fixture is attached to a cord that has extra slack in the conduit. Gently pull it out and lay it on the pool deck. You do NOT need to disconnect any wiring.
-
Open the light housing: Use a screwdriver to remove the lens retainer ring or clamp holding the lens in place.
-
Remove the old bulb: Unscrew or unclip the old bulb. Note its wattage so you purchase the correct replacement.
-
Replace the gasket: Always replace the rubber gasket every single time you open the fixture. A worn gasket is how water gets in. Apply a thin layer of silicone sealant for extra protection.
-
Install the new bulb: Match the wattage exactly. Installing the wrong wattage can overheat the fixture.
-
Test before sealing: Before reassembling, briefly restore power (carefully!) to test that the new bulb works. Then shut power off again before proceeding.
-
Reassemble and reinstall: Close the housing, replace the lens, and tighten the retainer ring. Coil the extra cord neatly back into the niche and reinstall the fixture screw.
That’s it! For many pool owners, this simple process gets the light working again in under an hour. The Pool Cleaning Services Tampa team at Panther Pools handles bulb replacements as part of their comprehensive repair services, so you never have to go it alone.
Pool Light Bulb Types at a Glance
Choosing the right replacement bulb matters a lot. Here’s a simple comparison to help you pick the right one:
|
Voltage |
Common Wattages |
Base Type |
Notes |
|---|---|---|---|
|
120V |
300W, 400W, 500W |
Medium base |
Requires GFCI protection |
|
12V |
300W |
Medium base |
Requires step-down transformer |
|
LED (various) |
Lower wattage equivalents |
Varies by fixture |
Longer lifespan, energy-efficient |
When in doubt, check the label on your existing bulb or consult your pool’s documentation. Using the wrong wattage can damage the fixture and create a safety hazard.
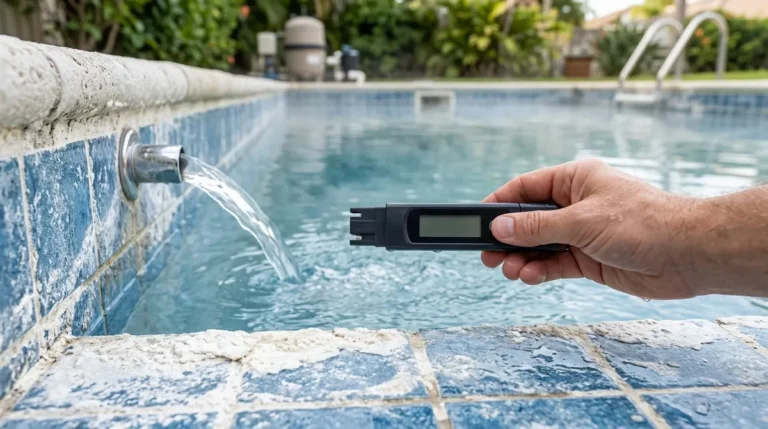
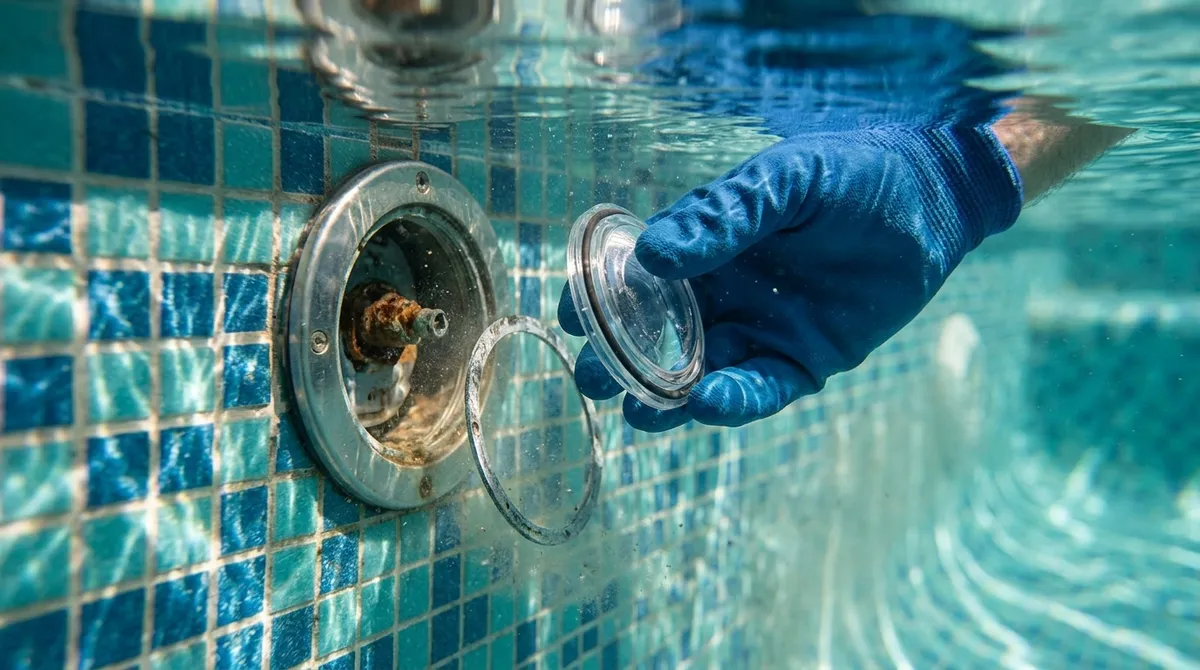
How to Seal a Leaking Pool Light
If your pool light fixture is leaking, water can get inside and cause serious damage. It can also allow water to escape through the conduit, lowering your pool’s water level over time. Here’s how to address it:
-
Pull the fixture to the deck using the steps described above.
-
Inspect the gasket: A cracked, hardened, or flattened gasket is the most common source of leaks. Replace it immediately.
-
Apply silicone sealant: Run a thin bead of pool-safe silicone sealant around the lens groove before reassembling.
-
Check the conduit entry point: If water is traveling through the conduit itself, you may need pool putty or a conduit seal kit to plug the entry point at the back of the niche.
-
Inspect for corrosion: If corrosion is severe inside the housing, a full fixture replacement is the smarter (and safer) choice over patching.
The Independent Pool and Spa Service Association (IPSSA) recommends that pool owners have their light niches and seals inspected regularly as part of routine maintenance — especially in warm climates like Tampa’s where pools see year-round use.
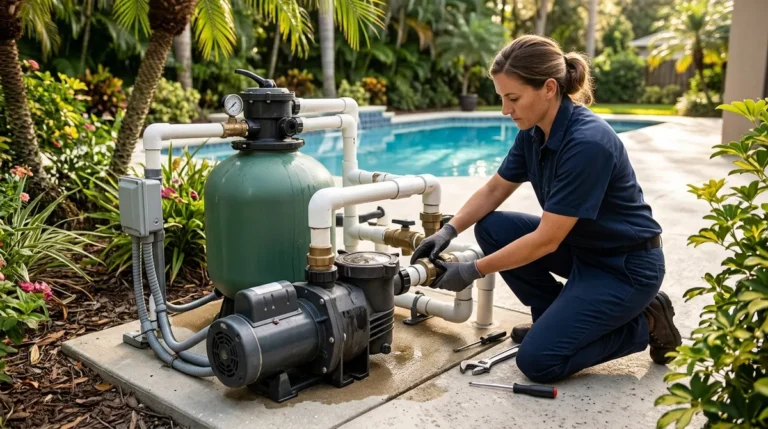
When to Replace the Entire Fixture
Sometimes a bulb swap or gasket replacement just isn’t enough. Here’s when a full fixture replacement makes more sense:
-
Visible corrosion on the housing or wiring connections
-
Repeated water ingress despite new gaskets
-
Cracked or shattered lens
-
Electrical issues that a new bulb doesn’t fix
-
The fixture is very old and parts are no longer available
Full fixture replacements involve threading a new cord through the conduit. This is where pull tape (also called mule tape or fish tape) comes in. Technicians apply dish soap as a lubricant and carefully thread the new cord through the conduit to connect the new fixture. This job is best left to professionals, especially if the conduit run is long or the wiring needs to be reconnected properly.
For guidance on pool safety and electrical standards, the Florida Swimming Pool Association (FSPA) is a great local resource that sets industry standards for pool professionals in our state.
DIY vs. Professional Pool Light Repair
It’s fair to ask — can you handle pool light repair yourself? Here’s an honest breakdown:
|
Task |
DIY Friendly? |
Notes |
|---|---|---|
|
Bulb replacement |
Yes (with caution) |
Follow all safety steps carefully |
|
Gasket replacement |
Yes |
Always replace when opening the fixture |
|
Resetting a tripped GFCI |
Yes |
Simple button reset at the outlet or breaker panel |
|
Conduit sealing (minor) |
Maybe |
Use pool putty for small gaps |
|
Full fixture replacement |
Not recommended |
Requires threading cord and wiring work |
|
Wiring repairs |
No |
Always hire a professional |
|
GFCI installation |
No |
Must meet electrical code — hire a pro |
When it comes to anything involving wiring, conduit runs, or installing GFCI protection, please hire a professional. The EPA’s pool resources also remind us that properly maintained pool systems — including electrical components — contribute to safer and more efficient pool operation overall.
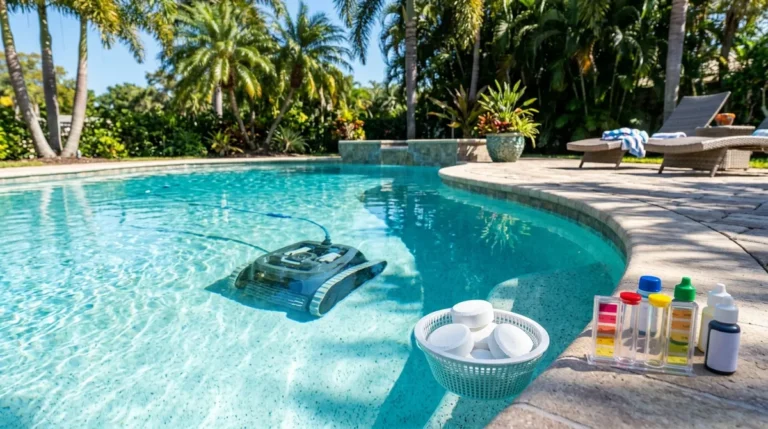
Keeping Your Pool Lights in Great Shape
Prevention is always better than repair. A little regular attention goes a long way toward extending the life of your pool lights. Here are some simple habits to adopt:
-
Have your pool lights inspected during routine maintenance visits
-
Check that your GFCI breaker is functioning by pressing the test button periodically
-
Keep pool chemistry balanced — aggressive chemical levels speed up corrosion
-
Watch your pool’s water level — unusually low levels can sometimes point to a conduit leak near a light niche
-
Consider upgrading to LED pool lights — they last significantly longer than traditional halogen bulbs and use less energy
Staying ahead of small problems means fewer surprises down the road. If you’re looking for consistent, expert-level care, the team at Panther Pools brings professional eyes to your entire pool system every single visit — lights included. With pool maintenance in West Chase and across Tampa, they make it easy to keep every part of your pool in top shape.
Just like taking care of your overall wellbeing is an investment — the way Charming Smiles of Ocoee helps families maintain healthy smiles — keeping your pool systems healthy protects your home investment for years to come.
Conclusion
Pool light repair doesn’t have to be intimidating. From a simple bulb swap to a full fixture replacement, understanding the process helps you make smart decisions — whether you tackle it yourself or call in a pro. The most important thing is always safety: power off, test for voltage, and never rush the process. For Tampa pool owners who want peace of mind and expert results, Westchase pool service from Panther Pools has you covered with experienced technicians, 7-days-a-week support, and the kind of care your pool deserves.
Ready to get your pool lights — and your whole pool — looking their best? Reach out to the Panther Pools team today for a free estimate and let us help you keep the good times glowing. And if you’re a fan of smart tools that help businesses grow online, SEO Rocket is worth checking out for anyone looking to boost their digital presence.
FAQs
Q: How do I replace a pool light bulb without draining the pool?
A: Great news — you don’t need to drain the pool at all! Pool light fixtures are attached to a long cord with extra slack inside the conduit, so you can pull the entire fixture up to the pool deck to work on it. Just make sure to turn off power at the breaker and verify with a voltage tester before you touch anything.
Q: What causes pool lights to stop working?
A: The most common culprits are burnt-out bulbs (which have a rated life of around 800 hours), a tripped GFCI breaker, water leaking into the fixture due to a bad gasket, or corroded wiring. A quick check of your GFCI breaker is always a great first step before assuming a bulb has burned out!
Q: Is it safe to do pool light repair myself?
A: Simple tasks like bulb and gasket replacements are manageable for careful DIYers, as long as you strictly follow safety protocols — power off at the breaker, test for voltage, and wear protective gear. However, anything involving wiring, conduit work, or GFCI installation should always be handled by a qualified professional to stay safe and code-compliant.
Q: What type of bulb do I need for my inground pool light?
A: It depends on your fixture’s voltage. Standard 120V pool lights typically use 300W, 400W, or 500W medium-base bulbs, while 12V systems use 300W bulbs with a step-down transformer. Always check the label on your old bulb or your pool’s documentation to match the correct wattage — using the wrong one can overheat the fixture.
Q: How can I prevent pool light problems in the future?
A: Regular maintenance is your best friend here! Keep your pool chemistry balanced to reduce corrosion, have your light fixtures inspected during routine service visits, and periodically test your GFCI breaker. Upgrading to LED pool lights is also a smart move — they last much longer than traditional halogen bulbs and are more energy-efficient.