
Key Takeaways
-
DE filters are the most complex to install and require careful measurement of diatomaceous earth powder and proper backwash valve positioning; most professionals recommend hiring certified technicians for DE filter installations rather than attempting DIY.
-
Professional installation protects your manufacturer's warranty, as many pool equipment warranties require certified installation to remain valid and void if DIY installation causes issues.
-
Record your baseline pressure gauge reading immediately after installation—when pressure reads 8-10 psi above this baseline, it's time to backwash; skipping this step means you won't know when maintenance is actually needed.
-
Allow 6-12 hours of cure time for PVC cement or silicone after plumbing connections before running the pump; rushing this step can cause joint failures under water pressure and expensive leaks.
-
Simple above-ground pool filter replacements with hose connections are manageable DIY projects, but inground pools with hard PVC plumbing, filter type switches, or commercial properties require professional installation to ensure compliance and prevent costly mistakes.
-
Incorrect plumbing connections, wrong sand levels, improper priming, or skipped cure times can damage equipment or reduce filter efficiency; these common DIY errors are easily avoided with professional installation.
Your pool filter is the unsung hero of a clean, healthy swim. It quietly removes dirt, debris, and contaminants every single day. But when it is time for a new pool filter installation, a big question comes up: should you tackle it yourself, or call in a professional? This is one of those decisions that feels simple on the surface but gets complicated fast. The wrong choice can lead to leaks, poor water quality, or costly damage to your equipment. Whether you are a busy Tampa family, a first-time pool owner, or a commercial property manager, knowing your options makes all the difference. In this guide, we break down both paths clearly and honestly, so you can make the best choice for your pool, your time, and your peace of mind. Let’s dive in!
What Pool Filter Installation Actually Involves
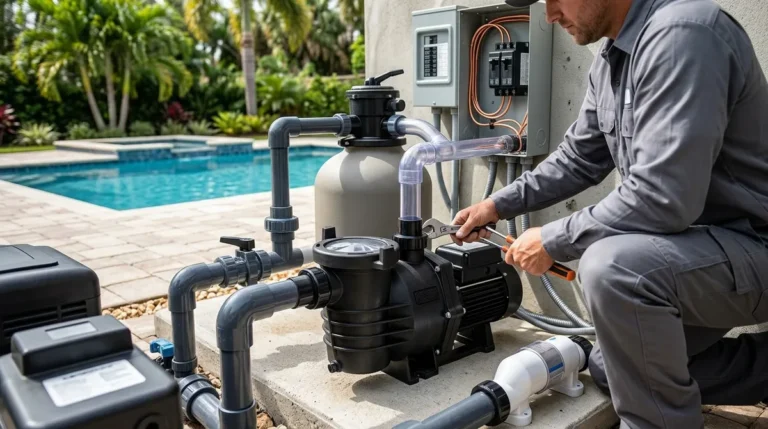
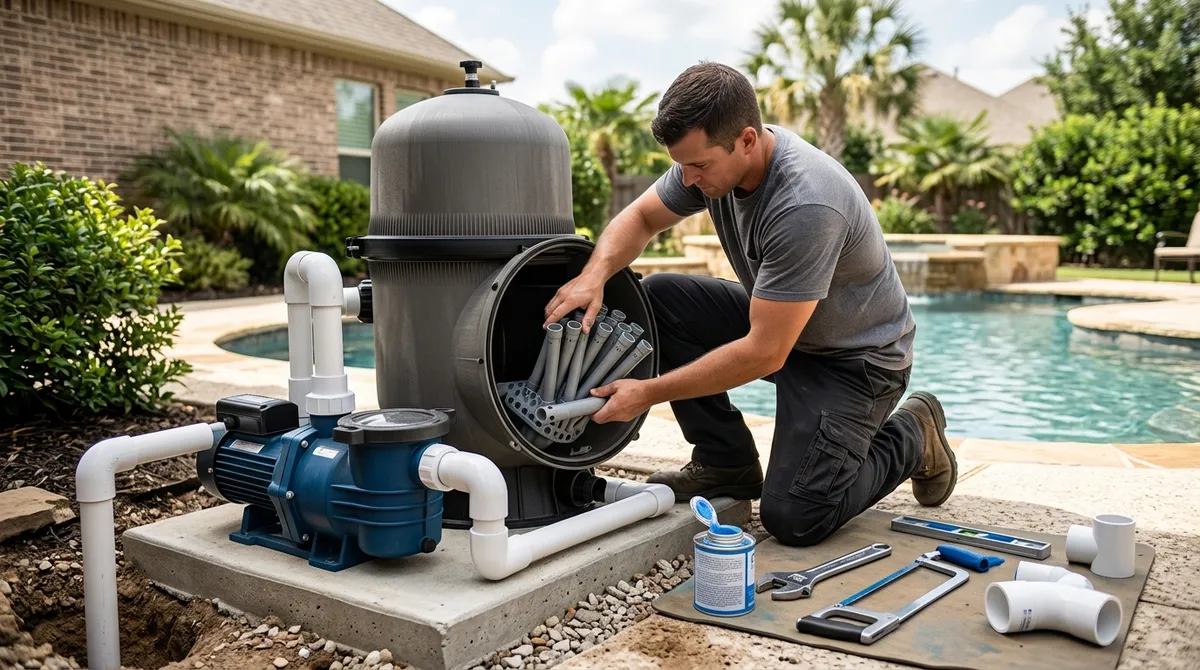
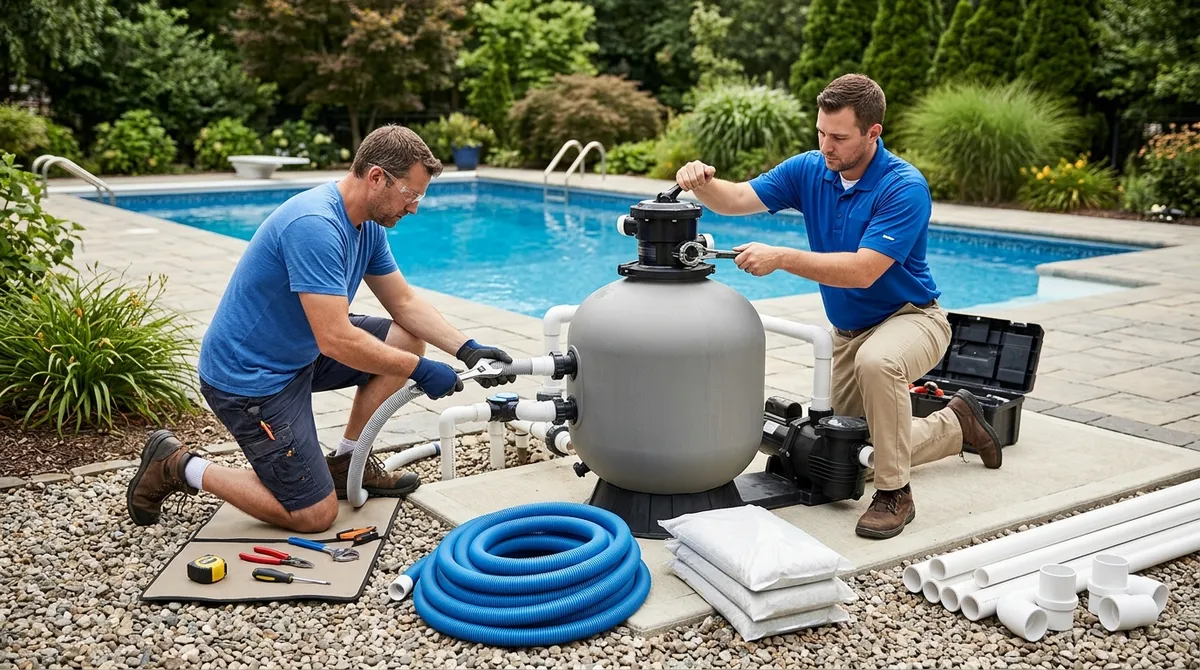
Before comparing your options, it helps to know what the job actually requires. Pool filter installation is more than just plugging in a new unit. It involves several steps that must be done correctly to protect your investment and keep your water clean.
There are three main filter types: sand, cartridge, and DE (diatomaceous earth). Each one has a different installation process, and the manufacturer’s instructions must be followed carefully. Getting it wrong — even slightly — can affect how well your entire pool system works. You can also check out our guide on maintaining your pool’s filters to understand how proper installation sets the stage for long-term care.
The Basic Steps of a Filter Installation
Regardless of the filter type, most installations share a common sequence. Here is a general overview of what the process looks like:
- Power down and drain the system: The pump is shut off, the old filter is drained, and all connections are carefully disconnected before any new work begins.
- Position the new filter: The new unit is placed on a level, stable surface with proper clearance for operation and future maintenance.
- Connect the plumbing: PVC pipes or hoses are dry-fitted first, then primed and cemented. Threaded fittings are sealed with Teflon tape to prevent leaks.
- Add filter media (if needed): Sand filters require the correct amount of sand added carefully around the standpipe. The sand level must stay within the manufacturer’s minimum and maximum fill range to avoid damaging the system.
- Prime and test the system: After allowing PVC glue or silicone to cure — sometimes 6 to 12 hours — the system is started and checked for leaks and proper flow.
- Record the clean pressure reading: This baseline reading is critical because it tells you when to backwash or clean the filter later. Generally, you should backwash when the gauge reads 8 to 10 psi above that clean startup pressure.
Want a deeper look at how to keep your filter running well after installation? Our page on how to clean a pool filter the right way is a great next read.
DIY Pool Filter Installation: The Full Picture
There is something satisfying about handling a home improvement project on your own. DIY pool filter installation can seem like a way to save money and feel more connected to your pool’s upkeep. But let’s look at the real pros and cons.
The Advantages of Going DIY
- You control the timing and can work at your own pace
- You may save on labor costs for straightforward replacements
- It can be a great learning experience for new pool owners
- Above-ground pool systems with hose connections are often simpler to manage
The Real Challenges of DIY Installation
Here is where things get honest. Pool filter installation has several points where mistakes are easy to make and expensive to fix. Many homeowners underestimate the complexity involved, especially with inground pool systems that use hard PVC plumbing.
- Incorrect plumbing connections can cause leaks that damage equipment or flood the pool area
- Wrong sand levels in sand filters can damage the internal laterals and standpipe
- Skipping the cure time for PVC cement can result in joints that fail under pressure
- Improper priming can cause the pump to run dry, leading to serious damage
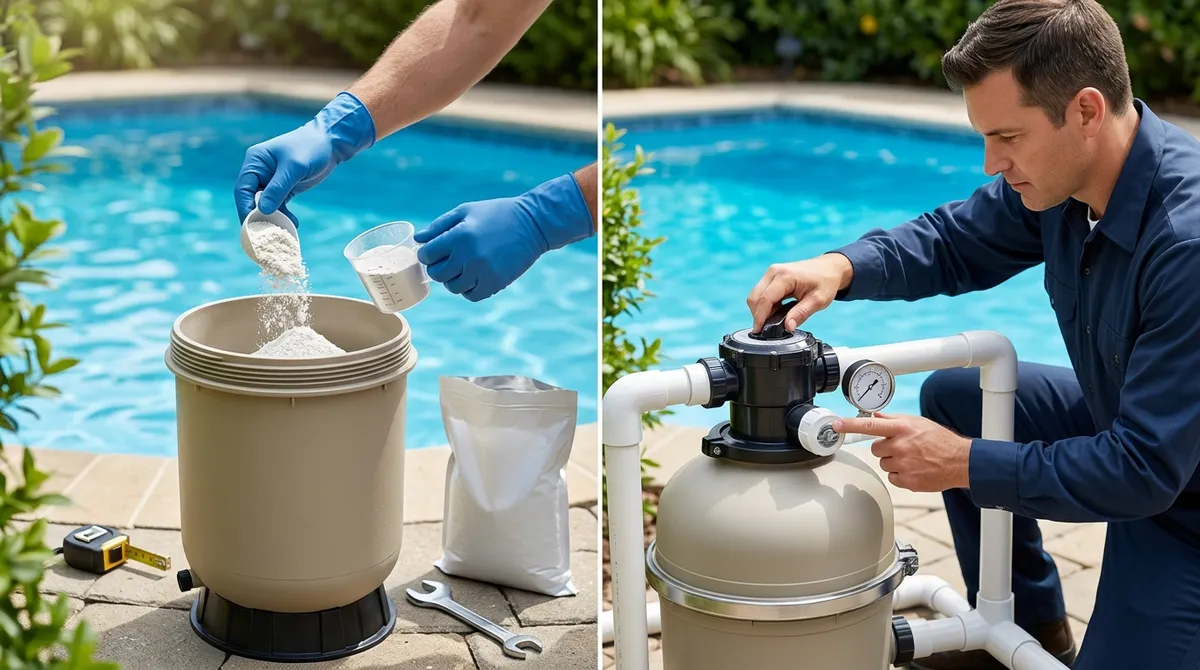
- DE filters require careful handling since diatomaceous earth is a fine powder that needs proper measurement and safety precautions
- Missing the baseline pressure reading means you will not know when to backwash, reducing filter efficiency over time
If you do run into trouble during a DIY attempt, our resource on pool filter repairs that save money can help you understand what went wrong and how to fix it affordably.
Professional Pool Filter Installation: What You Actually Get
Hiring a professional for pool filter installation is not just about convenience. It is about getting the job done right the first time, with zero guesswork. Certified pool technicians bring expertise, proper tools, and accountability to every installation.
At Panther Pools, our licensed technicians handle filter installations with the precision your pool deserves. We hold a Certified Pool Operator credential (CPO 648855) and a CPC License (CPC1461336), which means every installation meets industry and safety standards from start to finish.
The Advantages of Professional Installation
- Correct sizing and positioning for your specific pool and equipment setup
- Proper PVC plumbing with fully cured connections that do not leak
- Expert handling of all filter media types, including DE powder and specialty sand
- Accurate baseline pressure recording so your maintenance schedule is set up correctly
- Immediate leak testing and system priming before the job is considered complete
- Access to related services like pump checks, equipment audits, and water chemistry balancing
Professional installation also means your equipment warranty stays valid. Many manufacturers require certified installation to honor warranty claims — something a DIY job may not provide. The Independent Pool and Spa Service Association (IPSSA) supports industry standards that help ensure pool equipment is installed safely and effectively.
Head-to-Head Comparison: DIY vs. Professional Filter Installation
Let’s put both options side by side so you can see exactly how they stack up across the factors that matter most to Tampa pool owners.
| Factor | DIY Installation | Professional Installation |
|---|---|---|
| Skill Required | Moderate to High | Handled by certified technicians |
| Risk of Errors | Higher — plumbing, media, priming | Very Low — licensed and experienced |
| Time Commitment | Half a day to a full day | A few hours with minimal disruption |
| Warranty Protection | May void manufacturer warranty | Warranty-compliant installation |
| Correct Pressure Setup | Easy to miss or record incorrectly | Properly documented at startup |
| Follow-Up Support | You are on your own | 7-day customer support available |
| Best For | Simple above-ground systems | Inground pools, DE systems, replacements |
Which Filter Type Is Hardest to Install Yourself?
Not all filter installations carry the same level of difficulty. Understanding where the complexity lives helps you make a smarter decision about when to call for help.
Sand Filters
Sand filter installation is manageable for experienced DIYers but still has pitfalls. Adding too much sand or disturbing the standpipe during filling can damage the internal components. Water must be added to the tank before sand is poured in to cushion the impact on the laterals at the bottom. Still, sand filters are generally the most DIY-friendly option among the three types.
Cartridge Filters
Cartridge filters are straightforward since there is no loose media to manage. The main challenge is getting the plumbing connections sealed correctly and ensuring the filter housing is seated and locked properly. A misaligned o-ring or loose clamp can cause immediate leaks. This is a moderate DIY job if you are comfortable with basic plumbing.
DE Filters
DE filters are the most complex to install. They require careful measurement of diatomaceous earth powder, proper backwash valve positioning, and attention to internal grids. Mistakes here can lead to DE powder blowing back into the pool or ineffective filtration. Most pool professionals strongly recommend hiring a certified technician for DE filter installation. For more on DE filter care, check out our guide on common mistakes to avoid in DE filter cleaning.
What the Industry Standards Say
Pool filter installation is not just a matter of preference — it falls under safety and compliance guidelines too. The Florida Swimming Pool Association (FSPA) outlines standards for pool equipment installation across the state, and Florida’s climate means year-round use puts extra demands on every component. Proper installation directly impacts how well your pool maintains water quality, which is also tied to health and sanitation standards supported by the EPA’s pool water efficiency guidelines.
For commercial properties especially, a properly installed and maintained filter is not optional. It is a compliance requirement. Our team at Panther Pools understands these regulations and makes sure every installation meets them. See why commercial pool service is essential for Tampa facilities.
When DIY Makes Sense and When It Does Not
We want to be fair here. There are situations where a confident DIYer can handle a filter installation without major risk. There are also situations where it is simply not the right call.
DIY May Work If:
- You are replacing an above-ground pool filter with a similar model using hose connections
- You have basic plumbing skills and have successfully completed similar projects
- You have access to the full manufacturer’s installation manual and all required materials
Call a Professional If:
- You are installing a new filter on an inground pool with PVC hard plumbing
- You are switching filter types — for example, moving from cartridge to DE
- The existing plumbing shows signs of wear, cracks, or previous leaks
- You are managing a commercial pool where compliance and reliability are non-negotiable
- You simply do not have the time or confidence to do it correctly
Not sure which situation you are in? Our guide on what you should know about pool equipment installation can help you figure it out. You might also find value in reading about 6 pool equipment installation facts Tampa owners need.
After Installation: Setting Up for Long-Term Success
Whether you go DIY or professional, what happens right after installation matters just as much as the installation itself. A new filter needs to be broken in correctly and monitored closely during the first few weeks.
Here are the key things to stay on top of after a fresh pool filter installation:
- Write down your clean pressure gauge reading immediately after startup — this is your maintenance baseline
- Check all fittings and connections for any slow drips or weeping within the first 24 to 48 hours
- Run the pump for a full cycle and observe how the system responds to flow
- Balance your water chemistry promptly — a new filter works best in properly balanced water
For a deeper look at keeping your entire pool system running smoothly after a new installation, explore our 9 pool maintenance tips every Tampa owner needs in 2026. And if you want to learn more about filter-specific upkeep, our article on 7 pool filter cleaning mistakes you must avoid is a must-read.
The Clear Winner for Tampa Pool Owners
When you weigh the full picture — risks, warranty protection, compliance, and long-term performance — professional pool filter installation wins for most Tampa homeowners and commercial operators. The Tampa climate means your pool works hard year-round, and a filter that is not installed correctly will show its weaknesses quickly under that constant demand.
That said, informed pool owners who understand what is involved and have experience with above-ground systems can handle simpler replacements successfully. The key is being honest about your skill level and the complexity of your specific setup.
Ready to get your pool filter installed the right way? Reach out to our team at Panther Pools for a free estimate and let Tampa’s premier pool cleaning professionals handle it from start to finish. We are available seven days a week and always happy to help you keep your pool at its best.
FAQs
Q: Can I install a pool filter myself, or should I hire a professional?
A: It really depends on your setup! Simple above-ground filter replacements with hose connections can be manageable for a confident DIYer. But for inground pools, DE systems, or any job involving hard PVC plumbing, we always recommend calling a certified professional to make sure everything is sealed, primed, and running correctly from day one.
Q: How long should I wait before turning on the pump after a pool filter installation?
A: If PVC cement or silicone was used during the installation, you should allow 6 to 12 hours of cure time before running the pump. Rushing this step can cause joints to fail under water pressure, which leads to leaks and headaches. When in doubt, wait a little longer — your patience will pay off!
Q: What is the difference between sand, cartridge, and DE pool filter installation?
A: Sand filters require adding the correct amount of sand around the standpipe with water already in the tank for cushioning. Cartridge filters focus mainly on secure housing and plumbing connections. DE filters are the most involved, requiring precise measurement of diatomaceous earth powder and careful attention to internal grids and backwash valve settings.
Q: How do I know if my pool filter was installed correctly?
A: After startup, check all fittings and connections for drips within the first 48 hours. The pump should prime smoothly, water flow should feel strong and consistent, and the pressure gauge should show a steady clean reading. That clean pressure number becomes your maintenance baseline — it tells you when it is time to backwash or clean the filter down the road.
Q: How soon after installation should I clean or backwash my new pool filter?
A: You should backwash or clean your filter when the pressure gauge reads about 8 to 10 psi above the clean startup reading you recorded right after installation. For a brand-new filter, this might not happen for several weeks depending on how much debris your pool collects. Recording that baseline pressure reading right away is the key to knowing when your filter actually needs attention!