
Key Takeaways
-
Heat pumps are the most energy-efficient option for Florida’s climate, costing significantly less to operate over time despite higher upfront costs, and can save installation costs within 3-5 years compared to gas heaters.
-
Proper heater sizing is critical—calculate your pool’s exact volume and match heater output to avoid undersized units that run constantly or oversized units that cycle inefficiently and waste money.
-
Professional installation is essential for safety and warranty coverage, involving pre-installation assessment, site preparation, electrical/plumbing integration, and compliance with local building codes and permits.
-
Electric heat pumps require 220-volt, 50-amp dedicated circuits, while gas heaters need gas line connections and proper venting; improper electrical or plumbing work creates serious safety hazards.
-
Annual professional maintenance and regular filter cleaning extend heater lifespan, maintain efficiency, catch problems early, and keep warranties valid—neglecting maintenance voids warranties and causes premature failure.
-
Most municipalities require building permits for pool heater installation; attempting unpermitted work can result in fines and difficulties selling your home later.
Imagine diving into your pool on a cool February morning or enjoying a relaxing swim on a chilly October evening. With the right pool heater installation, this dream becomes your everyday reality. Whether you’re looking to extend your swimming season or create a comfortable oasis year-round, understanding the installation process helps you make informed decisions about your pool’s heating system.
Installing a pool heater isn’t just about purchasing equipment and placing it near your pool. It involves careful planning, proper sizing, and professional installation to ensure safety, efficiency, and long-term performance. This guide walks you through everything you need to know about pool heater installation, from choosing the right type to understanding the installation process and maintaining your investment.
At Panther Pools, we’ve helped countless Tampa homeowners transform their pools into comfortable retreats regardless of the season. Let’s explore how you can achieve the same results with proper pool heater installation.
Understanding Different Types of Pool Heaters
Before diving into installation, you need to understand the three main types of pool heaters available in 2026. Each type offers unique benefits and installation requirements that affect your decision.
Gas Pool Heaters
Gas heaters remain popular for their rapid heating capabilities. They work by burning natural gas or propane to heat water quickly, making them ideal for pools that aren’t used daily. Gas heaters excel in cooler climates and can raise your pool temperature by several degrees in just a few hours.
These systems require a gas line connection, proper venting, and adequate clearance around the unit. Installation typically costs more upfront due to gas line requirements, but they heat water faster than other options. If you enjoy spontaneous pool parties or weekend swims, a gas heater might be your best choice.
Electric Heat Pumps
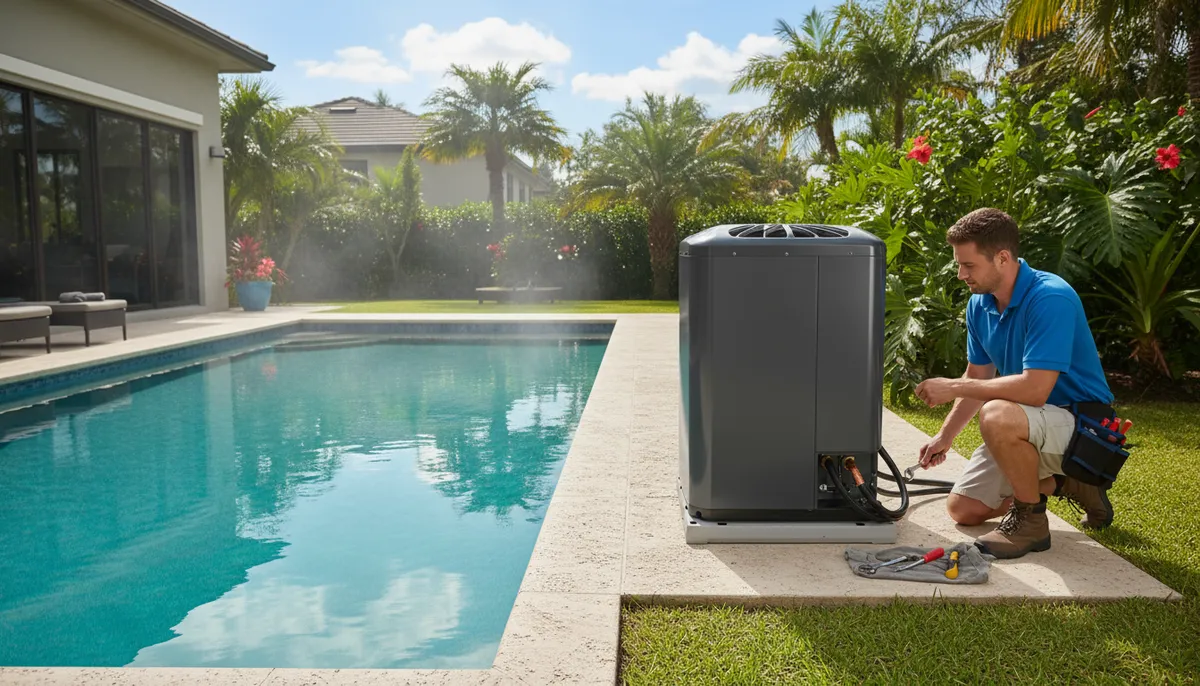
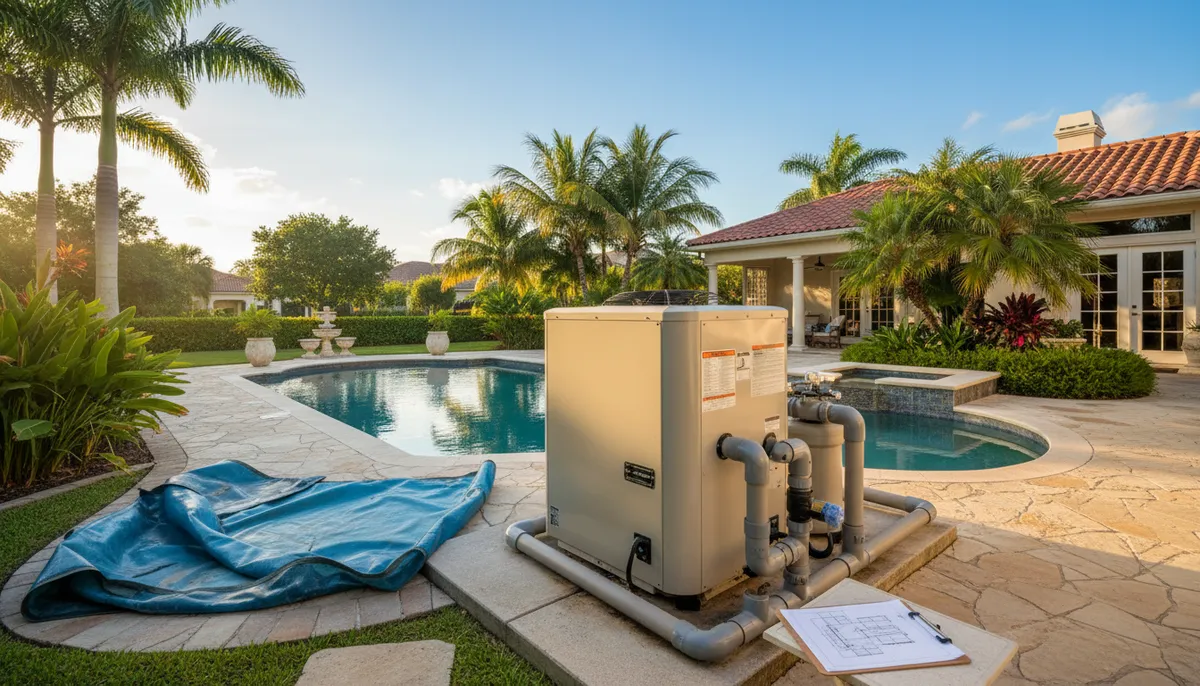
Heat pumps represent the most energy-efficient option for Florida’s climate. They extract heat from the surrounding air and transfer it to your pool water. While they take longer to heat your pool compared to gas heaters, they cost significantly less to operate over time.
Heat pumps work best when outdoor temperatures stay above 50 degrees Fahrenheit, making them perfect for Tampa’s mild winters. Installation requires a dedicated electrical circuit and proper drainage, but no gas lines. They’re quieter than gas heaters and have a longer lifespan, typically lasting 10 to 15 years with proper maintenance.
Solar Pool Heaters
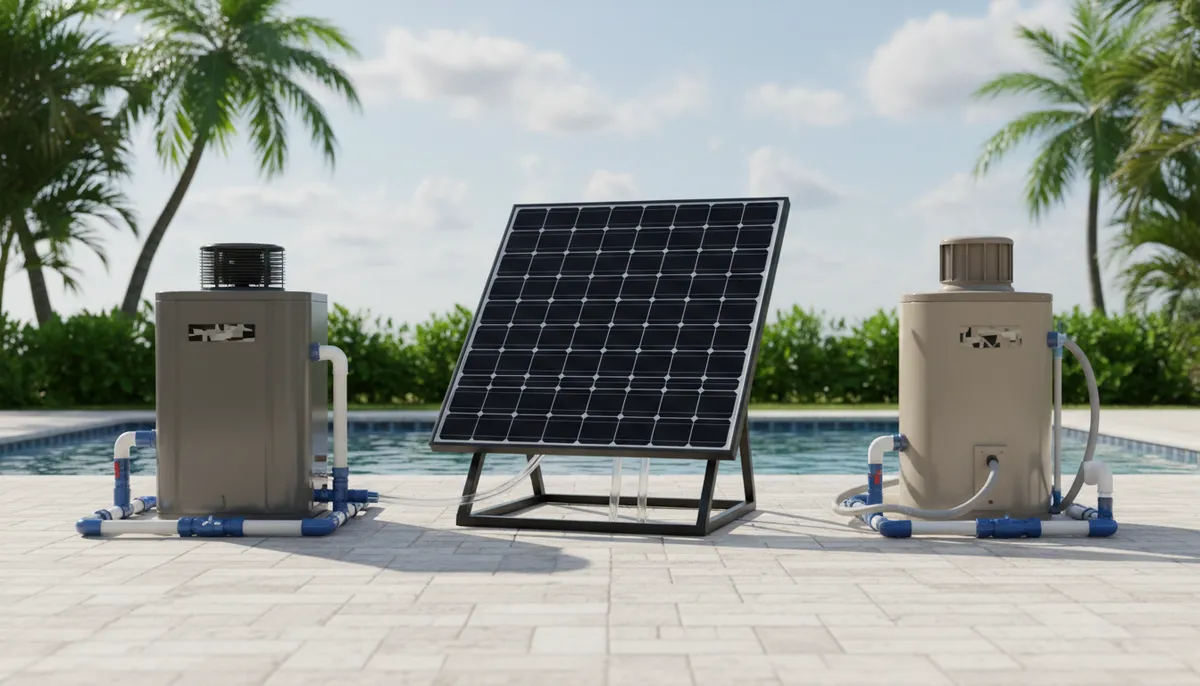
Solar heaters harness Florida’s abundant sunshine to warm your pool naturally. They consist of solar collectors mounted on your roof or ground-mounted near your pool. Water circulates through these collectors, absorbing heat before returning to your pool.
While solar heaters have the highest installation cost, they offer the lowest operating expenses since they use free energy from the sun. Installation involves mounting collectors, running plumbing lines, and integrating with your existing pool circulation system. In Tampa’s sunny climate, solar heaters can maintain comfortable water temperatures for most of the year.
Factors to Consider Before Pool Heater Installation
Successful pool heater installation starts with careful planning. Several factors influence which heater type works best for your situation and how the installation process unfolds.
Pool Size and Volume
Your pool’s size directly affects heater selection. A 15,000-gallon pool requires different heating capacity than a 30,000-gallon pool. Calculate your pool’s volume by multiplying length times width times average depth times 7.5 for rectangular pools. Irregular shapes need more complex calculations.
Undersized heaters struggle to maintain comfortable temperatures and run constantly, increasing wear and energy costs. Oversized heaters waste money upfront and may cycle on and off too frequently. Professional pool service providers use detailed calculations to match heater output to your pool’s specific needs.
Climate and Usage Patterns
Tampa’s subtropical climate influences heater choice differently than northern locations. If you swim year-round, a heat pump or solar system makes economic sense. Weekend-only swimmers might prefer a gas heater’s quick heating capability.
Consider how quickly you want your pool heated. Gas heaters warm water rapidly for spontaneous use. Heat pumps and solar systems work better for maintaining consistent temperatures over extended periods. Your swimming schedule affects both heater selection and installation planning.
Energy Costs and Efficiency
Energy expenses vary significantly between heater types. Gas heaters cost more to operate but less to install. Heat pumps require higher upfront investment but deliver long-term savings. Solar heaters eliminate ongoing energy costs after installation.
According to the EPA Pool Resources, energy-efficient pool heating can reduce operating costs by up to 70% compared to traditional gas heaters. Calculate five-year total costs including installation, maintenance, and energy expenses to make informed decisions.
Step-by-Step Pool Heater Installation Process
Understanding the installation process helps you prepare your property and set realistic expectations. While professional installation is always recommended for safety and warranty purposes, knowing what’s involved helps you make better decisions.
Pre-Installation Assessment
Professional installers start by evaluating your pool equipment pad, electrical system, and plumbing configuration. They check for adequate space, proper drainage, and compliance with local building codes. This assessment identifies potential challenges before installation begins.
Installers measure distances from your pool to potential heater locations, checking for obstacles and clearance requirements. They verify your electrical panel can handle additional load for electric heaters or confirm gas line capacity for gas models. This thorough evaluation prevents surprises during installation.
Site Preparation
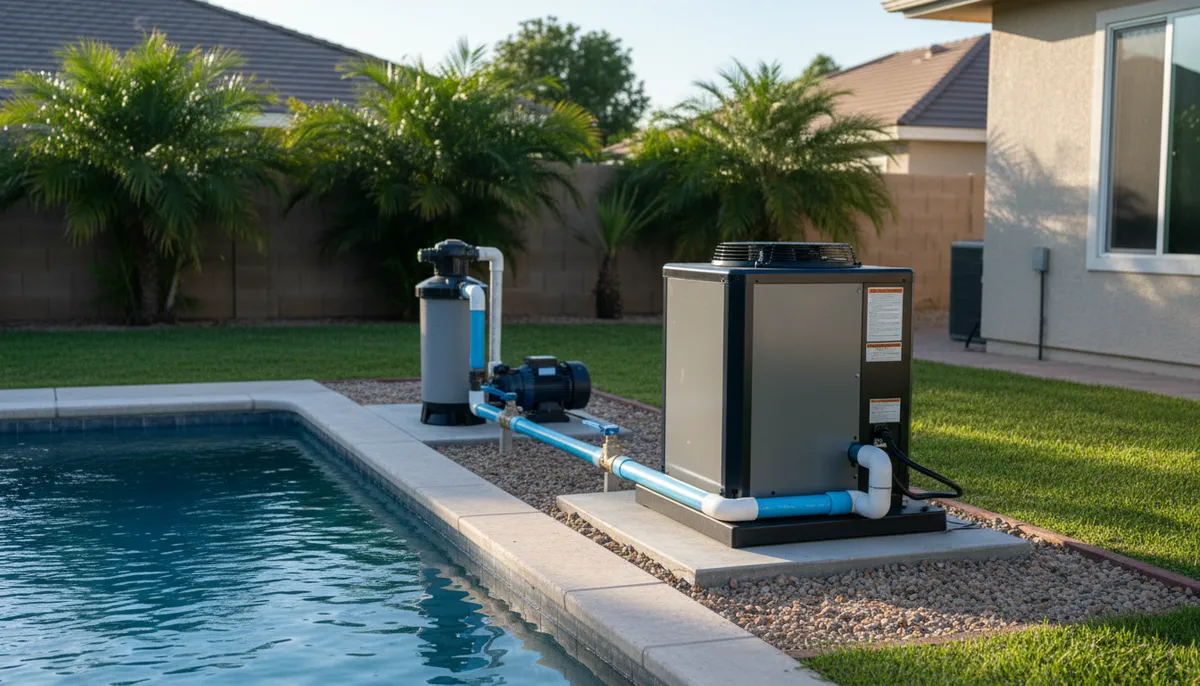
Proper site preparation ensures smooth installation and long-term heater performance. The installation area needs level, stable ground with adequate drainage. Concrete pads work best, though compacted gravel bases suit some installations.
For gas heaters, installers run new gas lines or tap into existing ones, following strict safety codes. Electric heat pumps require new electrical circuits running from your main panel to the heater location. Solar installations need roof assessments to ensure structural integrity for panel mounting.
Equipment Installation Steps
- Position the heater on the prepared pad with proper clearances on all sides
- Connect inlet and outlet plumbing lines using appropriate fittings and unions
- Install bypass valves to control water flow through the heater
- Connect electrical wiring or gas lines following manufacturer specifications
- Install venting systems for gas heaters to safely exhaust combustion gases
- Add necessary sensors and controls for automatic temperature management
- Test all connections for leaks and proper operation
Professional installers follow manufacturer guidelines precisely to maintain warranty coverage. They use proper materials rated for pool applications and ensure all work meets local building codes. Cutting corners during installation leads to problems down the road.
Electrical and Plumbing Requirements
Pool heater installation involves complex electrical and plumbing work that requires professional expertise. Understanding these requirements helps you appreciate why proper installation matters so much for safety and performance.
Electrical Considerations
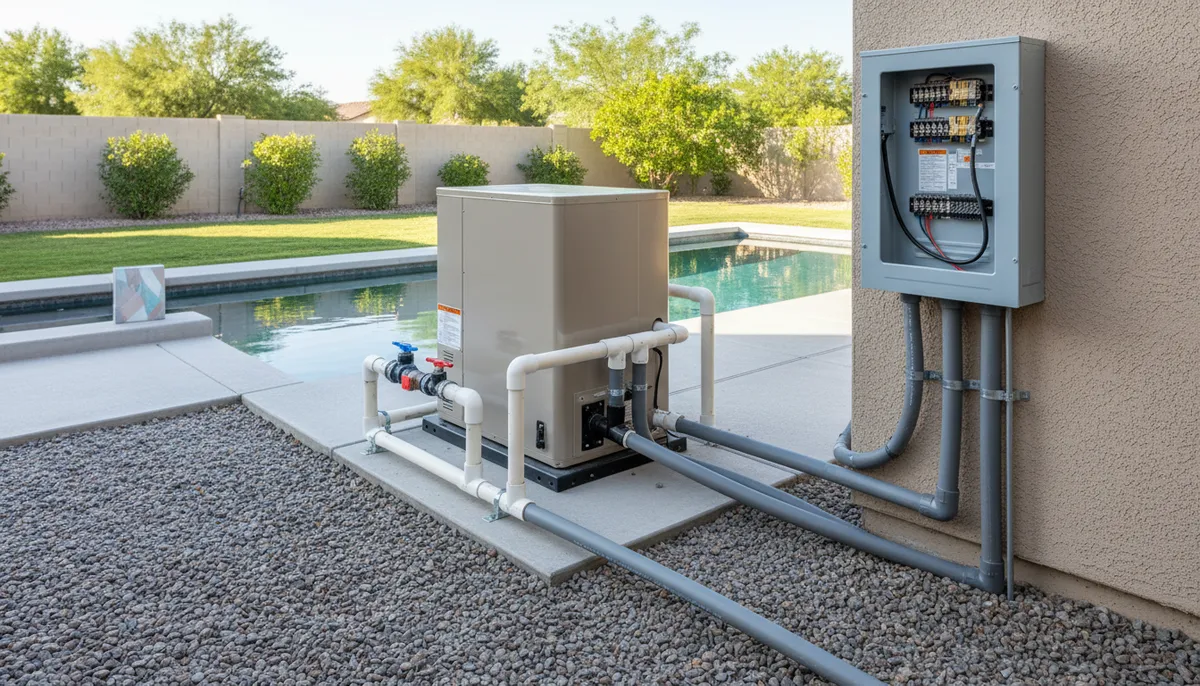
Electric heat pumps typically require 220-volt, 50-amp circuits, though requirements vary by model size. Your electrical panel must have available capacity for this additional load. Installers run dedicated circuits with proper gauge wiring and install appropriate circuit breakers.
All electrical work must comply with National Electric Code standards and local regulations. Ground fault circuit interrupters protect against electrical hazards near water. Professional electricians ensure proper bonding and grounding for safety. Never attempt electrical work yourself unless you’re a licensed electrician.
Plumbing Integration
Pool heaters integrate into your existing circulation system between the filter and return lines. Proper plumbing ensures adequate water flow through the heater without restricting circulation or creating pressure problems.
Installers use unions at connection points for easy service access. They install bypass valves that let you divert water around the heater for summer operation or maintenance. Check valves prevent backflow that could damage equipment. PVC cement and primer must be applied correctly for leak-free joints.
Water flow rates must match heater specifications. Too little flow triggers safety shutoffs, while excessive flow reduces heating efficiency. Professional installers calculate proper pipe sizing and valve settings for optimal performance.
Permit Requirements and Code Compliance
Most municipalities require permits for pool heater installation, especially for gas heaters and electrical work. Understanding permit requirements prevents legal problems and ensures safe, code-compliant installations.
Local Permit Process
Tampa requires building permits for most pool heater installations. The permit process involves submitting plans, paying fees, and scheduling inspections. Requirements vary by heater type, with gas installations typically requiring more extensive review.
Professional installation companies handle permit applications as part of their service. They understand local code requirements and ensure installations pass inspection the first time. Attempting unpermitted work can result in fines and difficulties selling your home later.
Building Code Compliance
Building codes specify minimum clearances, venting requirements, electrical standards, and safety features. Gas heaters need specific clearances from structures, property lines, and combustible materials. Exhaust vents must terminate safely away from windows and air intakes.
Electrical installations must follow NEC requirements for outdoor equipment near water. Plumbing work needs proper materials rated for pool applications. Code compliance isn’t optional—it protects your family and property while maintaining your home’s value.
Cost Factors for Pool Heater Installation
Pool heater installation costs vary widely based on heater type, site conditions, and installation complexity. Understanding cost factors helps you budget appropriately and avoid surprises.
| Heater Type | Equipment Cost Range | Installation Complexity | Operating Cost |
|---|---|---|---|
| Gas Heater | $2,000-$4,500 | Moderate to High | High |
| Heat Pump | $3,500-$6,000 | Moderate | Low to Moderate |
| Solar Heater | $4,000-$8,000 | High | Minimal |
Installation Variables
Several factors beyond equipment costs affect your total installation expense. Distance from your pool equipment to the heater location impacts plumbing and electrical runs. Gas line extensions add significant costs, especially for long distances or complex routing.
Existing equipment conditions matter too. Old pool pads might need replacement or reinforcement. Outdated electrical panels may require upgrades before adding heater circuits. These necessary improvements increase project costs but ensure safe, reliable operation.
Long-Term Value Considerations
The cheapest installation option isn’t always the best value. Quality equipment and professional installation cost more upfront but deliver better reliability and lower maintenance expenses. Cheap installations often use substandard materials that fail prematurely, requiring expensive repairs.
Energy efficiency significantly impacts long-term costs. A heat pump might cost $2,000 more than a gas heater initially but save that amount in energy costs within three to five years. Calculate total ownership costs over your expected equipment lifespan for accurate comparisons.
Maintenance Requirements After Installation
Proper maintenance extends your pool heater’s lifespan and maintains efficiency. Understanding maintenance needs helps you protect your investment and avoid costly repairs.
Regular Maintenance Tasks
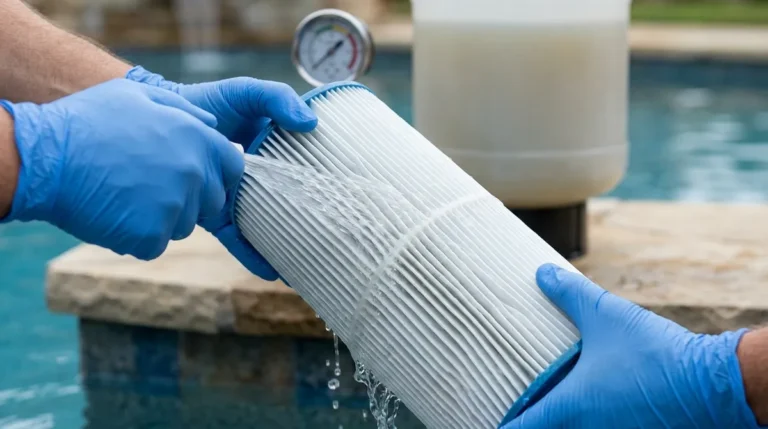
- Clean or replace air filters monthly on heat pumps to maintain efficiency
- Check for debris around outdoor units that restricts airflow
- Inspect electrical connections for corrosion or loose wires
- Test water flow and pressure to ensure proper circulation
- Clean heat exchanger surfaces annually to remove scale buildup
- Verify proper combustion on gas heaters with annual professional service
Professional Service Recommendations
Annual professional inspections catch small problems before they become expensive repairs. Technicians test safety controls, check refrigerant levels in heat pumps, inspect gas connections and burners, and verify proper venting. They also test electrical components and measure heating efficiency.
Companies like Panther Pools include equipment checks as part of comprehensive maintenance programs. Regular professional attention keeps warranties valid and maximizes equipment lifespan. Neglecting maintenance voids warranties and leads to premature failure.
Common Installation Mistakes to Avoid
Even experienced DIYers make costly mistakes during pool heater installation. Learning from common errors helps you understand why professional installation provides better value.
Sizing Errors
The most common mistake involves choosing incorrectly sized heaters. Undersized units run constantly without achieving desired temperatures. Oversized heaters cost more upfront and cycle inefficiently. Professional load calculations ensure proper sizing for your specific pool and climate.
Improper Placement
Heater location affects performance and safety. Placing units too close to structures creates fire hazards with gas heaters or restricts airflow for heat pumps. Inadequate clearances void warranties and violate building codes. Professional installers know proper placement requirements for each heater type.
Ventilation Problems
Gas heaters require proper venting to safely exhaust combustion gases. Incorrect vent sizing, improper termination, or inadequate draft can cause dangerous carbon monoxide buildup. Only qualified professionals should install gas heater venting systems following manufacturer specifications and building codes.
Electrical Shortcuts
Improper electrical installation creates serious safety hazards. Using undersized wiring, incorrect breakers, or skipping GFCI protection risks fires and electrocution. All electrical work should be performed by licensed electricians following NEC requirements. Saving money on electrical installation isn’t worth the safety risks.
Maximizing Your Pool Heater’s Performance
Getting the most from your pool heater investment involves more than just proper installation. These strategies help you maintain comfortable water temperatures while controlling operating costs.
Use a Pool Cover
Pool covers are the single most effective way to reduce heating costs. They prevent heat loss through evaporation, which accounts for 70% of pool heat loss. A quality solar cover or automatic cover can cut heating costs in half while keeping your pool cleaner.
Covers also reduce chemical usage and keep debris out, lowering overall maintenance costs. Even partial coverage during nights and cool days provides significant benefits. The investment in a good pool cover pays for itself through reduced heating and chemical costs.
Optimize Temperature Settings
Maintaining your pool at 78-82 degrees Fahrenheit provides comfortable swimming without excessive energy consumption. Each degree above 80 degrees increases heating costs by 10-30% depending on your heater type and climate.
Lower temperature settings during periods when you’re not swimming save energy without affecting comfort when you do use your pool. Programmable thermostats let you schedule temperature changes automatically, warming your pool before use and reducing temperatures during off-hours.
Strategic Windbreaks
Wind increases evaporation and heat loss from your pool surface. Strategic landscaping with hedges, fences, or screens reduces wind exposure and helps your heater work more efficiently. Even partial wind protection makes noticeable differences in heating costs.
When to Consider Professional Pool Heater Installation
While DIY enthusiasts tackle many home projects successfully, pool heater installation requires specialized knowledge and skills. Several factors make professional installation the smarter choice for most homeowners.
Safety Considerations
Pool heaters involve potentially dangerous gas lines, high-voltage electricity, and pressurized plumbing systems. Mistakes can cause gas leaks, electrical fires, or equipment damage. Professional installers have training and experience to work safely with these systems.
Licensed contractors carry insurance protecting you from liability if accidents occur during installation. They understand safety codes and follow proper procedures to protect your family and property. The peace of mind from professional installation is worth the additional cost.
Warranty Protection
Most manufacturers require professional installation to maintain warranty coverage. DIY installations void warranties even if you follow instructions perfectly. When your $5,000 heat pump fails after two years, manufacturer warranty coverage becomes extremely valuable.
Professional installers also warranty their work, covering installation defects and ensuring proper operation. This additional protection safeguards your investment beyond manufacturer warranties. Saving money on installation isn’t worthwhile if it means losing thousands in warranty coverage.
Code Compliance and Permits
Building departments require permits for pool heater installations and inspect work for code compliance. Professional installers handle permit applications and ensure installations pass inspection. They stay current on changing codes and requirements, preventing costly corrections later.
Selecting a Qualified Installation Contractor
Choosing the right contractor ensures successful pool heater installation and long-term satisfaction. These tips help you find qualified professionals for your project.
Credentials to Verify
- State contractor licenses specific to pool equipment installation
- Liability insurance and workers compensation coverage
- Manufacturer certifications for specific heater brands
- Professional organization memberships like IPSSA or FSPA
- Local business registration and bonding
Don’t hesitate to ask contractors for proof of licenses and insurance. Reputable companies provide this information readily. Working with properly licensed and insured contractors protects you from liability and ensures quality workmanship.
Questions to Ask Potential Contractors
- How many similar installations have you completed?
- Do you handle permit applications and inspections?
- What warranties cover your installation work?
- Can you provide recent customer references?
- How long will installation take from start to finish?
- What maintenance services do you offer after installation?
Red Flags to Watch For
Avoid contractors who pressure you for immediate decisions or demand large upfront payments. Be wary of prices significantly below other quotes—they often indicate cut corners or hidden costs. Contractors unwilling to provide references or proof of insurance should be crossed off your list immediately.
Professional pool service companies like Panther Pools demonstrate their expertise through customer testimonials, proper licensing, and comprehensive service offerings. They stand behind their work and maintain long-term relationships with clients.
Conclusion
Installing a pool heater transforms your swimming pool from a seasonal amenity into a year-round source of relaxation and enjoyment. Whether you choose a gas heater for rapid heating, a heat pump for energy efficiency, or solar collectors for minimal operating costs, proper installation ensures safety, performance, and longevity.
Understanding the installation process, from initial planning through final testing, helps you make informed decisions about your pool heating system. While DIY installation might seem tempting, the complexity of electrical, plumbing, and gas work makes professional installation the smarter choice for most homeowners. Licensed contractors bring expertise, proper tools, and warranty protection that DIY installations can’t match.
Regular maintenance after installation protects your investment and maintains peak efficiency. Simple tasks like cleaning filters and checking for debris, combined with annual professional service, keep your heater running reliably for years. Strategic use of pool covers and smart temperature management further maximize your comfort while controlling operating costs.
The team at Panther Pools has helped countless Tampa families enjoy perfectly heated pools throughout the year. Our experienced technicians understand the unique requirements of Florida’s climate and ensure your pool heater installation meets the highest standards for safety and performance. We handle everything from initial assessment through final testing, including permits and inspections, so you can focus on enjoying your pool. Contact our team today to discuss your pool heating needs and discover how professional installation delivers lasting value and peace of mind.
FAQs
Q: How long does pool heater installation typically take?
A: Most pool heater installations take between 4 to 8 hours for straightforward setups. Complex installations involving extensive gas line work, electrical panel upgrades, or solar roof mounting can take 1-2 days. Your contractor will provide a specific timeline after evaluating your property and chosen heater type.
Q: Can I install a pool heater myself to save money?
A: While technically possible, DIY pool heater installation isn’t recommended for most homeowners. The work involves complex electrical wiring, gas lines, or plumbing that requires specialized knowledge and tools. Improper installation creates safety hazards, voids manufacturer warranties, and often violates building codes. Professional installation protects your investment and ensures safe, reliable operation.
Q: What size pool heater do I need for my swimming pool?
A: Pool heater sizing depends on your pool’s volume, desired temperature rise, and local climate conditions. As a general rule, gas heaters need 50,000-100,000 BTUs for average residential pools, while heat pumps require 100,000-140,000 BTUs. Professional pool service technicians perform detailed calculations considering your specific situation to recommend properly sized equipment.
Q: How much does professional pool heater installation cost in Tampa?
A: Professional installation costs vary based on heater type and site conditions. Gas heaters typically run $2,500-$5,500 installed, heat pumps cost $4,000-$7,500, and solar systems range from $5,000-$10,000. These estimates include equipment, labor, permits, and standard electrical or plumbing work. Complex installations with extensive modifications cost more.
Q: How often should my pool heater be serviced after installation?
A: Your pool heater should receive professional service annually to maintain efficiency and catch potential problems early. Additionally, perform monthly checks of air filters, clearances, and visual inspections for damage or debris. Regular maintenance extends equipment lifespan, maintains warranty coverage, and ensures safe operation throughout the year.