
Key Takeaways
-
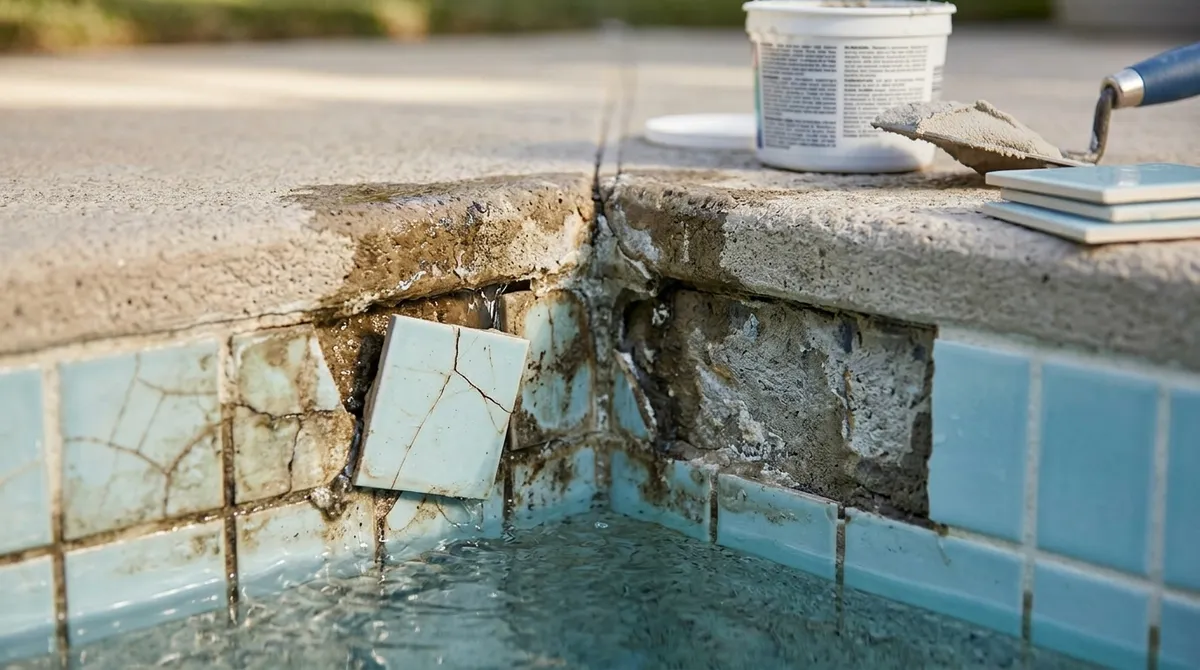
Untreated tile damage allows water to seep behind broken tiles, weakening the pool shell and causing costly structural damage over time that’s far more expensive than addressing cosmetic issues early.
-
Use only pool-grade adhesives and waterproof grouts specifically formulated for constant water exposure; standard construction materials will fail quickly in pool environments and cause tiles to loosen within weeks.
-
The repair process requires proper surface preparation with degreasers to remove all old adhesive, correct material application, and 24-48 hours cure time before refilling—rushing these steps compromises the bond and causes premature failure.
-
DIY pool tile repair often fails due to wrong materials, improper surface prep, missed structural damage, color matching difficulties, and premature pool refilling; professional service ensures lasting results.
-
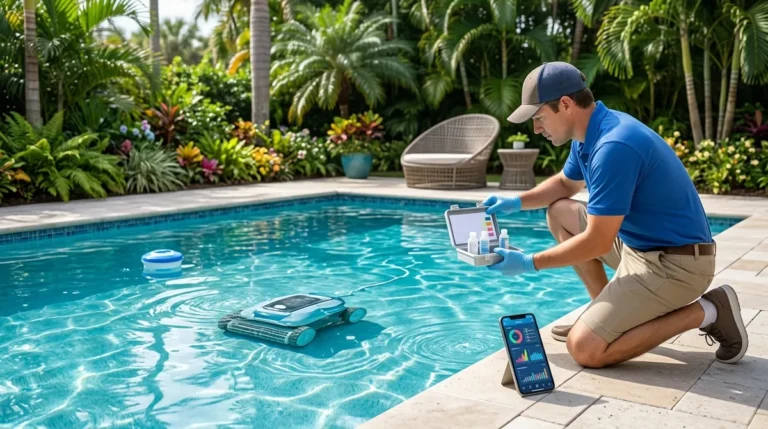
Maintain water chemistry balance, brush tiles weekly to prevent calcium buildup, and recaulk expansion joints every five years to prevent water intrusion at this vulnerable joint in your pool structure.
-
Tampa’s warm climate causes more tile wear than colder regions due to increased UV exposure and chemical demand; local professionals understand regional conditions better than national companies and respond faster to urgent repairs.
Your pool is one of the best parts of your home. It’s where family memories are made, where summer days stretch into evenings, and where you unwind after a long week. So when you notice cracked, loose, or chipped tiles along the waterline, it’s hard not to feel a little deflated. The good news? Pool tile repair is a straightforward service when you have the right team on your side. If you’ve been searching for pool tile repair near me in the Tampa area, you’re in exactly the right place. This guide walks you through everything you need to know — from what causes tile damage to what the repair process looks like, and how to find a reliable local pro who’ll get your pool looking beautiful again.
Why Pool Tile Repair Matters More Than You Think
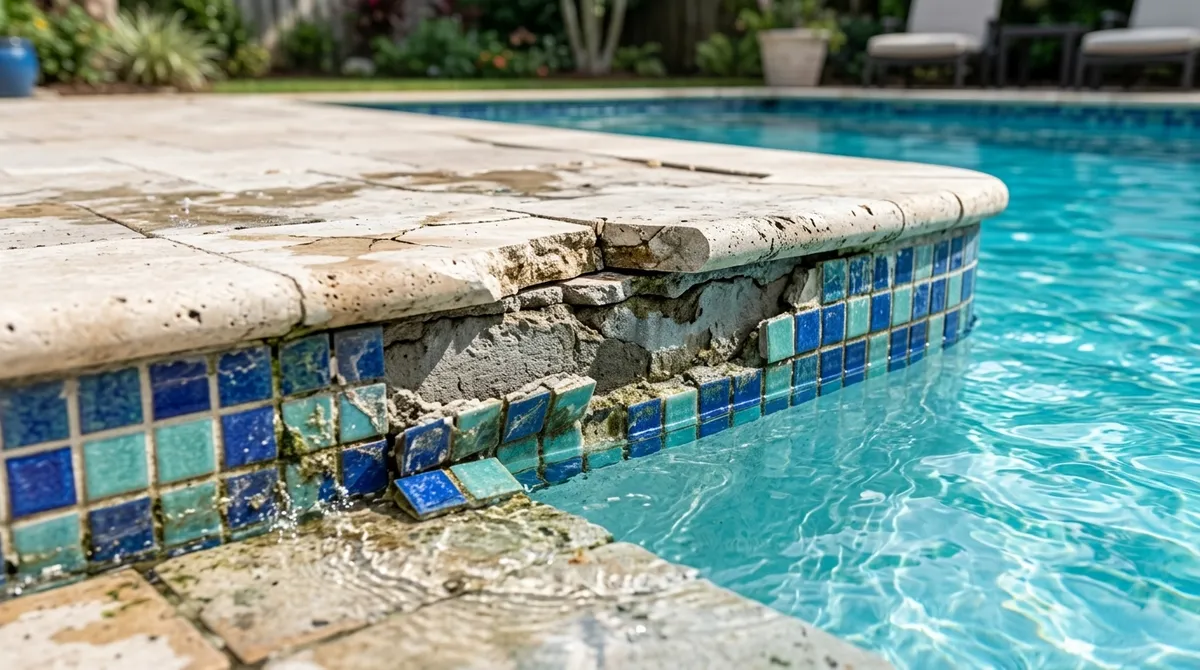
Damaged pool tiles aren’t just an eyesore. Left untreated, cracks and loose tiles can lead to bigger problems. Water seeps behind broken tiles, weakening the pool shell and causing structural damage over time. What starts as a cosmetic issue can quickly become a costly repair if ignored.
Pool tiles also play a functional role. The waterline tile acts as a barrier, protecting the pool shell from chemical exposure and UV damage. Keeping those tiles in great shape helps extend the life of your entire pool. According to the EPA Pool Resources, proper pool maintenance — including surface upkeep — is a key part of water and energy efficiency.
For busy families, luxury homeowners, and commercial property managers alike, staying on top of tile repairs means fewer surprises and more time enjoying the pool.
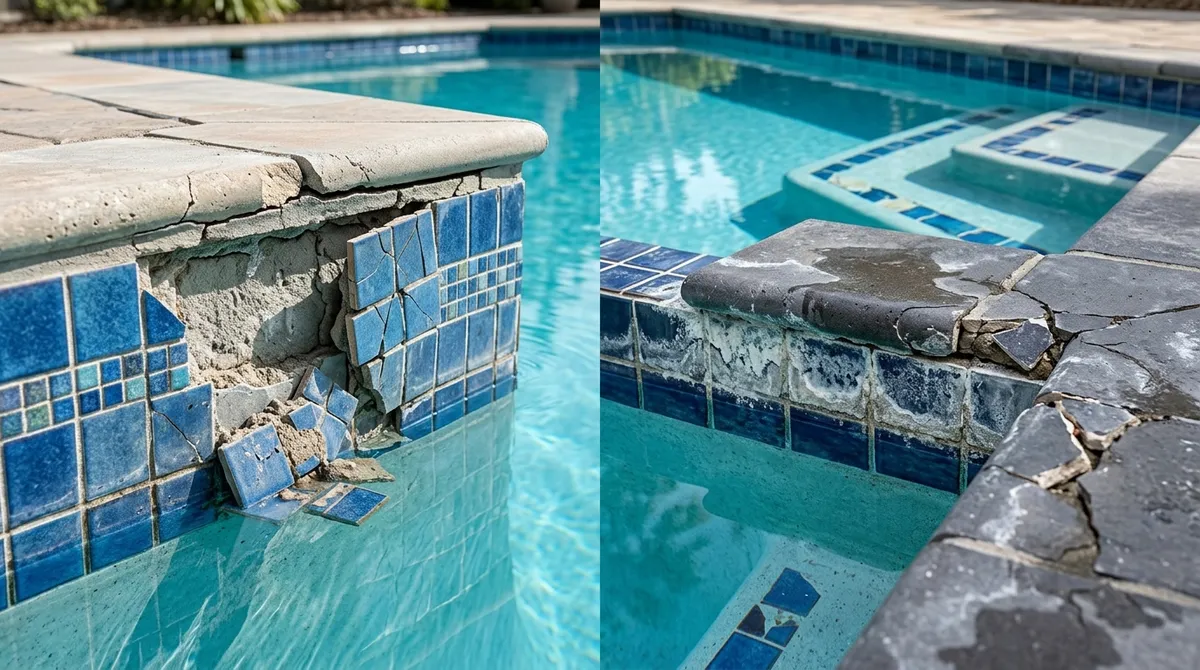
Common Causes of Pool Tile Damage
Understanding why tiles crack or loosen helps you prevent future damage. Here are the most common culprits:
-
Ground movement: Soil shifts under the pool structure, stressing the tile adhesive and grout.
-
Freeze-thaw cycles: Even in Tampa, occasional cold snaps can cause minor expansion and contraction.
-
Chemical imbalance: Incorrect pH or high calcium levels etch tiles and weaken grout over time.
-
Age and wear: Grout and sealants naturally degrade after several years of constant water exposure.
-
Poor original installation: Tiles set with the wrong adhesive or grout won’t last as long as they should.
-
Physical impact: Pool tools, toys, or accidental impacts can chip or crack individual tiles.
Knowing the root cause is important. A good pool tile repair professional won’t just replace the damaged tile — they’ll also address the underlying issue so the problem doesn’t come back.
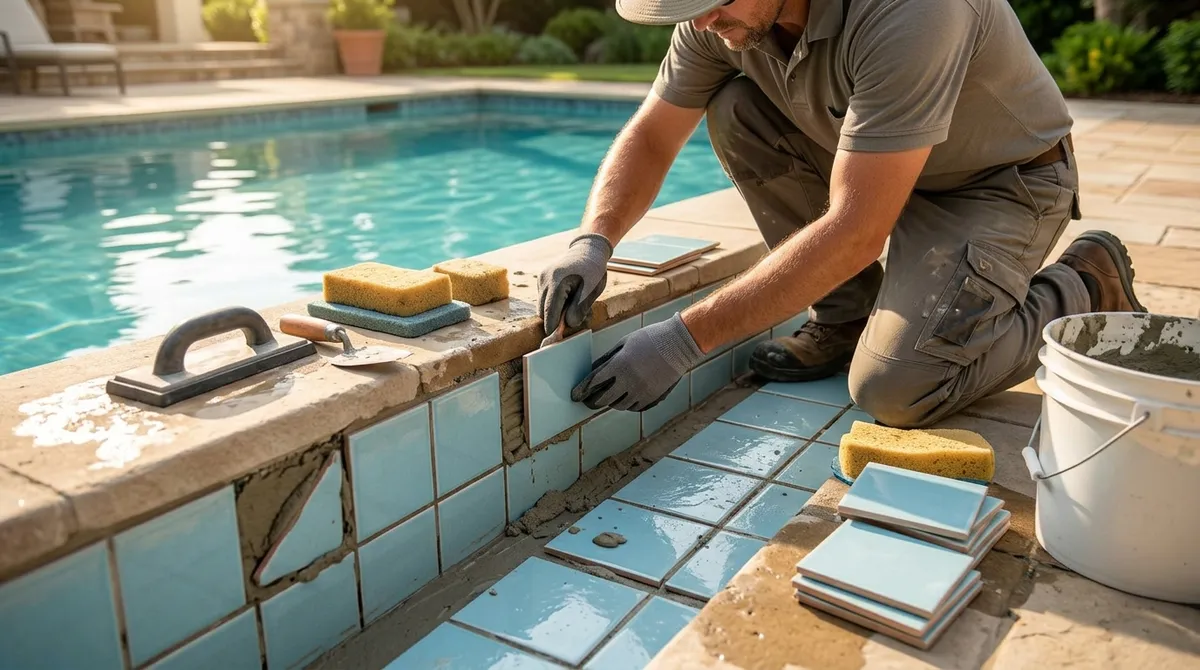
How the Pool Tile Repair Process Works
If you’ve never had tile repaired before, it helps to know what to expect. A professional repair team follows a systematic process to ensure lasting results.
Step 1: Lower the Water Level
The pool is drained to a level below the damaged tiles. This ensures safe access and prevents water from interfering with adhesive and grout materials during the repair.
Step 2: Remove Damaged Tiles and Old Adhesive
Technicians carefully remove the damaged tiles using specialized tools. They extract grout lines first, then chisel away old adhesive and tile fragments. The goal is to remove damaged material without harming the surrounding tiles or the pool shell.
Step 3: Prepare the Surface
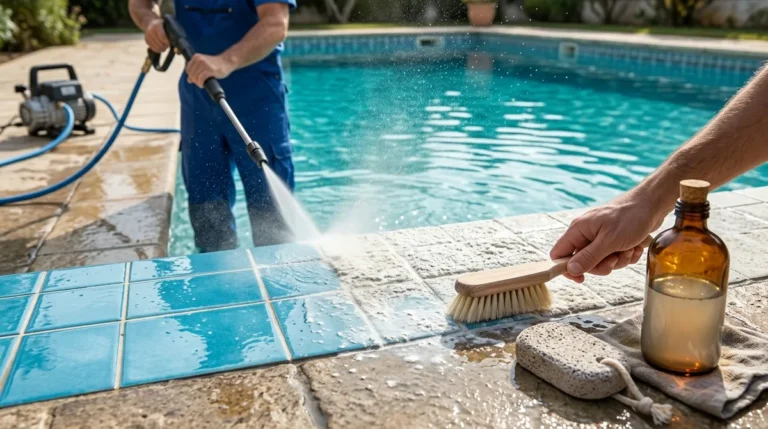
Surface preparation is one of the most critical steps. The area is thoroughly cleaned with degreasers to remove all residue. Old adhesive must be completely stripped away so the new tile bonds properly to the surface.
Step 4: Set New Tiles with Pool-Grade Adhesive
This is where using the right materials really matters. Professional pool tile repair requires waterproof, pool-grade adhesives — typically thinset mortar formulated for constant water exposure. Standard construction materials simply won’t hold up in a pool environment.
Step 5: Grout and Seal
After the tiles are set, waterproof pool grout is applied and finished. A high-quality sealant is then used to lock out moisture and protect against future water damage. This final step is essential for long-lasting results.
Step 6: Cure Time and Refill
Tile adhesive and grout need 24 to 48 hours to cure before the pool can be safely refilled. Rushing this step can compromise the bond and lead to tiles loosening again prematurely.
For most projects, professional tile and masonry installation takes one to three days depending on the scope of the damage. A trustworthy team will give you a realistic timeline upfront.
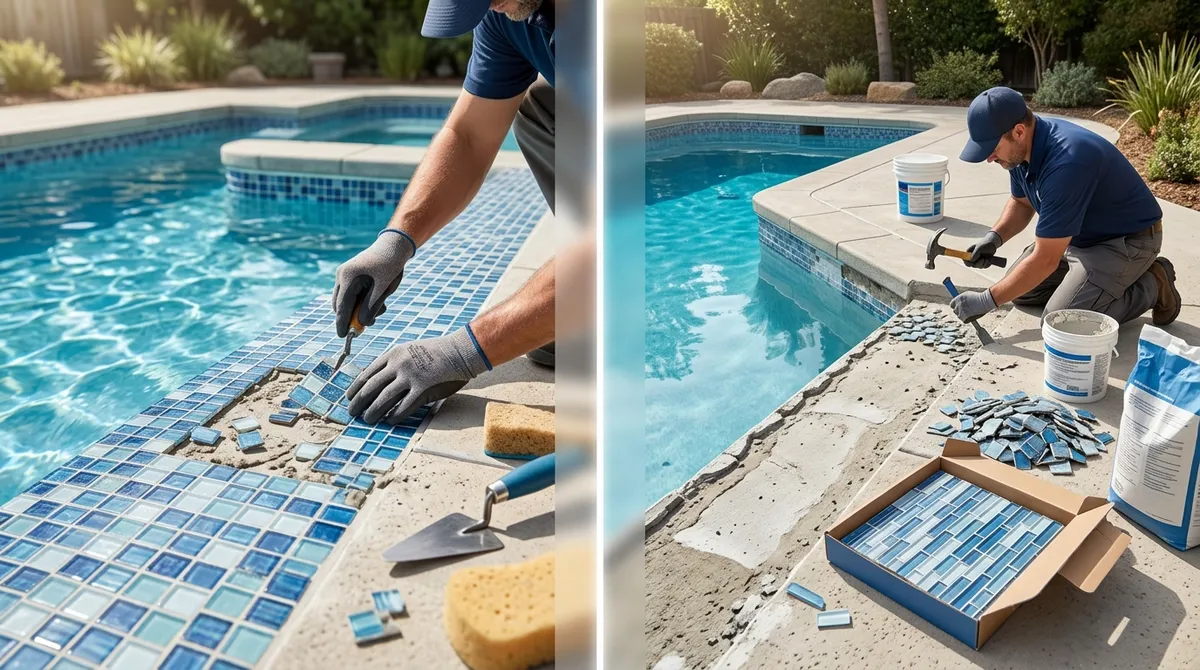
Pool Tile Repair vs. Full Pool Tile Replacement
Not every situation calls for a full replacement. Here’s a simple comparison to help you understand the difference:
|
Situation |
Recommended Approach |
Typical Timeframe |
|---|---|---|
|
One or a few cracked or loose tiles |
Spot repair |
1 day |
|
Widespread grout cracking or discoloration |
Regrouting and sealing |
1–2 days |
|
Large sections of missing or damaged tiles |
Partial or full replacement |
2–3 days |
|
Expansion joint deterioration |
Recaulking with flexible sealant |
Half to 1 day |
One thing worth noting: the expansion joint between your pool coping and deck requires flexible sealant — not mortar — and typically needs recaulking every five years. If this joint cracks and isn’t repaired, water intrusion can cause serious damage to surrounding tiles and the pool structure.
Signs You Need Pool Tile Repair Right Now
Not sure if your pool needs attention? Look for these warning signs during your next swim or walkthrough:
-
Tiles that wobble or feel loose when pressed
-
Visible cracks, chips, or missing pieces along the waterline
-
Grout that is crumbling, discolored, or completely absent in spots
-
Water staining or calcium buildup that won’t clean off
-
Exposed pool shell underneath where tiles have fallen off
-
Hollow sounds when tapping on tile (a sign of adhesive failure underneath)
If you spot any of these, it’s time to call in a professional. Catching problems early keeps repair costs manageable and protects your pool’s long-term value.
DIY Pool Tile Repair: Is It Worth the Risk?
You might be tempted to grab some tile adhesive from the hardware store and tackle the repair yourself. We get it — it seems straightforward. But pool tile repair is trickier than it looks.
Here are a few reasons why professional repair is the better call:
-
Wrong materials cause repeat failures. Standard construction adhesives and grouts aren’t designed for constant water immersion. They’ll break down quickly, and you’ll be back to square one.
-
Improper surface prep leads to poor bonding. If the old adhesive isn’t fully removed and the surface isn’t properly cleaned, new tiles won’t stick properly.
-
Hidden damage goes undetected. A professional can spot signs of structural issues or chemical damage that a homeowner might miss entirely.
-
Color matching is harder than it looks. Finding tiles that match your existing pool tile in color, size, and finish takes experience and access to the right suppliers.
-
Improper curing ruins the job. Refilling the pool too soon — or not allowing the grout to cure fully — can mean loose tiles within weeks.
For a job done right the first time, professional service is the smarter investment. Industry organizations like the Florida Swimming Pool Association (FSPA) and the Independent Pool and Spa Service Association (IPSSA) maintain standards for professional pool service technicians — so you know what good service looks like.
What to Look for in a Pool Tile Repair Service Near You
When searching for pool tile repair near me in Tampa, not all service providers are created equal. Here’s what separates the best from the rest:
-
Experience with pool-specific materials: Make sure they use pool-grade adhesives, grouts, and sealants — not general construction products.
-
Transparent process: A good team explains each step and gives you a clear timeline before starting work.
-
Certified technicians: Look for credentials like a Certified Pool Operator (CPO) designation, which signals professional training and accountability.
-
Comprehensive services: The best companies handle the full scope — tile removal, surface prep, installation, grouting, sealing, and coping repairs.
-
Customer reviews: Positive testimonials from real homeowners and commercial clients speak volumes about reliability and quality.
At Panther Pools, we bring all of these qualities to every job. As a family-owned pool cleaning and repair company serving Tampa and the surrounding areas, we pride ourselves on showing up on time, doing the work right, and treating every pool like it’s our own. Our Certified Pool Operator credential (CPO 648855) backs up our commitment to professional standards. We also partner with trusted local businesses like Buckhorn Power Wash and InCare to ensure our customers have access to the best care in the area.
Preventing Future Pool Tile Damage
Once your tiles are repaired, a little preventive care goes a long way. Here’s how to keep your pool tile looking great year-round:
-
Balance your water chemistry regularly. Proper pH, alkalinity, and calcium hardness levels protect tiles from chemical etching and calcium scale buildup.
-
Brush tile surfaces weekly. Regular brushing removes early calcium deposits before they harden and damage grout.
-
Schedule routine professional inspections. A pro can catch hairline cracks or early grout failure before it becomes a bigger issue.
-
Recaulk expansion joints every five years. This simple maintenance step prevents water intrusion at the most vulnerable joint in your pool structure.
-
Address leaks promptly. Water loss isn’t always about evaporation. A pool that loses water faster than expected may have a leak that’s stressing your tile and shell.
If you’re in the Westchase or West Chase area, our team offers dedicated pool maintenance in West Chase and Westchase pool service packages to keep your pool in peak condition all year long. Consistent maintenance is honestly the best form of tile protection there is.
Why Tampa Pool Owners Trust Professional Repair Services
Tampa’s warm climate means pools get used year-round — which also means more wear and tear than pools in colder regions. The combination of heat, UV exposure, and heavy chemical demand puts extra stress on tile grout and sealants. That’s why local expertise matters.
A team that understands Tampa’s specific climate conditions, water chemistry challenges, and regional pool styles will always deliver better results than a generalist who treats every pool the same. Local professionals also respond faster when you need urgent repairs — no waiting weeks for a national company to send someone out.
Want to learn more about the team behind the service? Visit our About page to get to know us better.
Ready to Get Your Pool Tiles Fixed?
Whether you’ve got a single cracked tile or a full section of the waterline that needs attention, acting sooner rather than later is always the smart move. Pool tile damage doesn’t fix itself — and the longer it sits, the more it can affect the rest of your pool.
Your pool deserves to look as good as it feels to swim in. Don’t let damaged tiles hold it back. Reach out to our team at Panther Pools for a free estimate and let us take care of your pool from waterline to water chemistry. We’re here seven days a week because we know pool problems don’t stick to a Monday-to-Friday schedule.
FAQs
Q: How long does pool tile repair take?
A: Most pool tile repair projects take one to three days depending on the extent of the damage. After installation, tile adhesive and grout need 24 to 48 hours to fully cure before the pool can be safely refilled — so a little patience goes a long way toward a lasting fix!
Q: What causes pool tiles to crack or become loose?
A: Common causes include ground movement, chemical imbalances in the water, aging grout and sealants, physical impacts, and poor original installation. The good news is that most of these issues are preventable with regular pool maintenance and balanced water chemistry.
Q: Can I repair pool tiles myself or should I hire a professional?
A: While DIY is tempting, pool tile repair really benefits from professional expertise. Using the wrong adhesive or grout — or skipping proper surface prep — can mean tiles that loosen again within weeks. A certified pool professional gets it right the first time, saving you time and headaches down the road.
Q: What is the difference between pool tile repair and full tile replacement?
A: Pool tile repair typically addresses isolated damage — a few cracked or loose tiles, failing grout in a specific area, or a deteriorated expansion joint. Full replacement covers larger sections or all tiles when damage is widespread. A professional inspection will tell you which approach makes the most sense for your pool.
Q: How can I prevent pool tile damage in the future?
A: The best prevention is consistent maintenance! Keep your water chemistry balanced, brush tile surfaces weekly to prevent calcium buildup, recaulk expansion joints every five years, and schedule regular professional inspections. Catching small issues early keeps your tiles beautiful and your pool structure protected.