Key Takeaways
-
Use pool-grade waterproof thinset mortar and grout like EZ Patch #4, never standard household tile products, as this is the single biggest factor determining repair longevity.
-
Perform the ‘tap test’ by gently tapping tiles with your knuckles to detect hollow sounds indicating loose tiles before they fall off completely.
-
Lower water level below damaged tiles, thoroughly clean the surface removing all old adhesive and debris, and allow crack fillers 24-48 hours to dry before applying new tiles.
-
Reseal expansion joints between pool deck and coping with flexible urethane or silicone caulk every five years to prevent water infiltration and recurring tile damage.
-
Handle small repairs (1-3 tiles above waterline) yourself using proper materials, but call professionals for multiple damaged rows, structural cracks, or underwater repairs to avoid costly repeat failures.
-
Maintain balanced water chemistry (pH 7.2-7.6), inspect tiles monthly, clean calcium buildup regularly, and schedule professional inspections to prevent future damage from freeze-thaw cycles and chemical wear.
Your pool tiles do a lot of work. They keep water sealed in, protect the pool shell, and make your backyard look beautiful. But over time, even the toughest tiles can crack, chip, or come loose. When that happens, it’s easy to feel overwhelmed — especially if you’re not sure where to start.
The good news? Pool tile repair doesn’t have to be a nightmare. Whether you’re a busy Tampa family trying to keep the kids’ pool safe, a luxury homeowner protecting your investment, or a commercial property manager keeping a facility compliant, this guide walks you through everything you need to know. From spotting the warning signs to deciding when to call a pro, we’ve got you covered. Let’s dive in!
Why Pool Tiles Get Damaged in the First Place
Before you can fix the problem, it helps to understand why it happens. Pool tiles face a tough environment every single day. Knowing the root causes helps you prevent future damage after your repair is done.
Here are the most common reasons pool tiles crack, chip, or fall off:
- Freeze and thaw cycles: Water expands when it freezes. Even in Tampa, cooler nights can cause small cracks to grow over time.
- Chemical wear: Chlorine, pH imbalances, and other pool chemicals slowly break down grout and tile adhesive.
- Constant use: Swimmers, pool toys, and everyday activity all put physical stress on tiles near the waterline.
- Improper installation: Tiles set with the wrong adhesive or grout will loosen far sooner than they should.
- Shifting ground: Florida’s sandy soil can shift slightly beneath a pool, causing tiles to crack or pop loose.
- Age: Even well-installed tiles have a lifespan. After years of use, grout dries out and adhesive weakens.
According to FSPA (Florida Swimming Pool Association), regular inspection and maintenance are the best defense against costly tile repairs. Catching small problems early saves a lot of time and money down the road.
How to Spot Pool Tile Damage Early
Spotting tile damage early is one of the smartest things a pool owner can do. Small problems are always easier and cheaper to fix than big ones. Here’s what to look for during your next pool walkthrough.
Visual Signs to Watch For
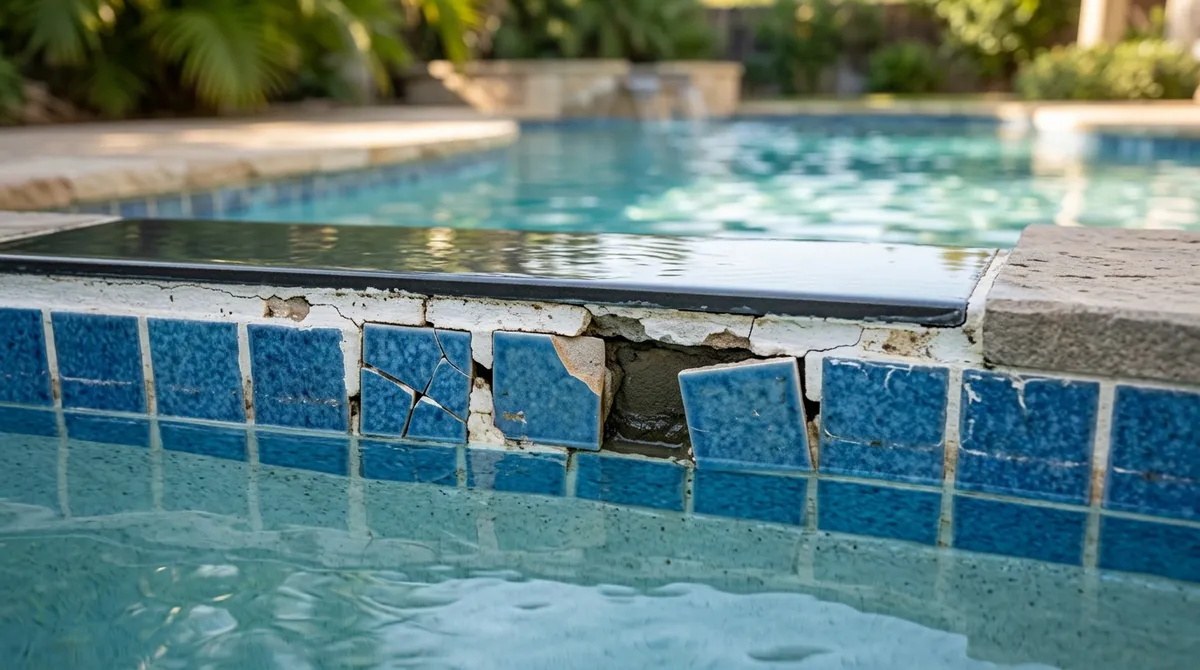
- Hairline cracks running across tile surfaces
- Chips or missing corners on individual tiles
- Grout that looks crumbled, discolored, or hollow
- Tiles that look slightly raised or uneven
- White calcium buildup around cracked areas
- Staining around grout lines that won’t clean off
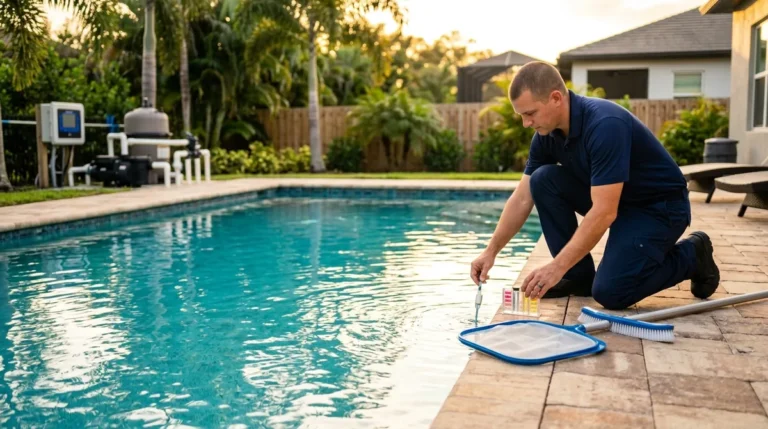
The Tap Test
Here’s a simple trick the pros use. Gently tap each tile with your knuckles or a small rubber mallet. A solid tile makes a dull thud. A loose tile makes a hollow, clicking sound. If you hear hollow sounds, that tile needs attention before it falls off completely.
Walk along the entire waterline and tap every few tiles. This quick check can reveal hidden problems you’d never spot just by looking. It’s a great habit to build into your regular pool maintenance routine.
For professional pool maintenance help in the Tampa area, Pool Cleaning Services Tampa from Panther Pools keeps your pool in top shape year-round, including spotting tile issues before they become major repairs.
What You Need for a DIY Pool Tile Repair
Tackling a small pool tile repair yourself is absolutely doable. You just need the right tools and materials before you get started. Trying to improvise with the wrong products is one of the most common reasons DIY repairs fail.
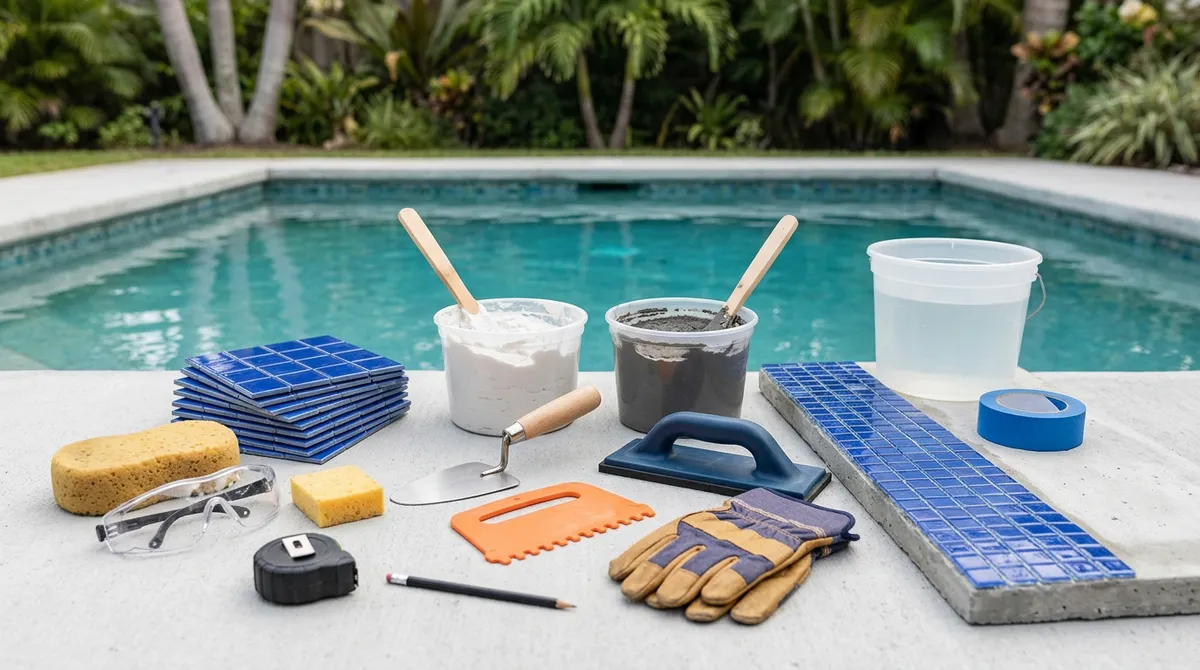
Tools You’ll Need
- Chisel and hammer (for removing old tiles and grout)
- Wire brush or grout saw (for cleaning the surface)
- Putty knife or trowel (for applying adhesive)
- Rubber mallet (for setting tiles firmly)
- Tile spacers (to keep even grout lines)
- Sponge and bucket (for cleanup)
- Safety glasses and gloves
Materials You’ll Need
- Pool-grade thinset or mortar: Standard tile adhesive is not waterproof enough for pools. Always use pool-specific products.
- Waterproof pool grout: Products like EZ Patch #4 are made specifically for underwater use.
- Epoxy filler or EZ Patch #1: Great for filling small cracks and chips before reattaching tiles.
- Flexible urethane or silicone caulk: For sealing expansion joints between the pool deck and coping.
- Bonding additive: Mixing a bonding additive into your mortar greatly improves adhesion.
| Product Type | Best Use | Notes |
|---|---|---|
| EZ Patch #1 | Filling cracks and chips | Allow 24-48 hours to dry before tiling |
| Pool-grade thinset | Adhering replacement tiles | Always use waterproof, pool-specific formula |
| EZ Patch #4 grout | Grouting after tiles are set | Apply after tiles cure for 24 hours |
| Silicone/urethane caulk | Sealing expansion joints | Reseal every 5 years |
Step-by-Step: How to Repair Pool Tiles
Ready to get your hands a little dirty? Here’s how to do a proper pool tile repair from start to finish. These steps work for replacing individual tiles above or just below the waterline.
Step 1: Lower the Water Level
Drain the pool water below the area you need to repair. You don’t have to empty the whole pool — just get the water level a few inches below the damaged tiles. This gives you a dry, accessible work area.
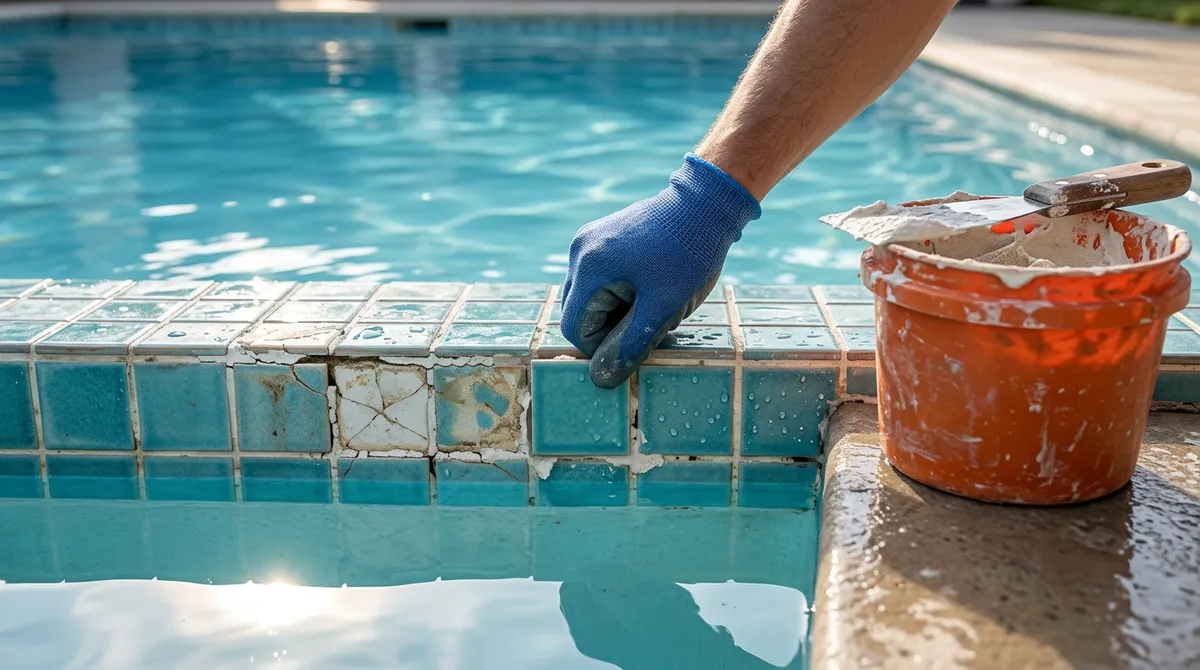
Step 2: Remove the Damaged Tiles and Old Grout
- Use your chisel and hammer to carefully chip away the old grout around the damaged tile.
- Once the grout is cleared, gently pry the tile away from the surface.
- Scrape off all old adhesive from the wall using a putty knife.
- Use a wire brush to clean the surface thoroughly. Remove all debris and dust.
Be patient here. Rushing this step often leads to an uneven surface, which means your new tile won’t bond properly. A clean, smooth base is everything.
Step 3: Fill Any Cracks in the Pool Surface
If you notice cracks in the pool shell under the old tile, fill them with EZ Patch #1 or a similar epoxy filler before you do anything else. Wet the surface first to improve adhesion. Let the filler dry for at least 24 to 48 hours before moving on to tiling.
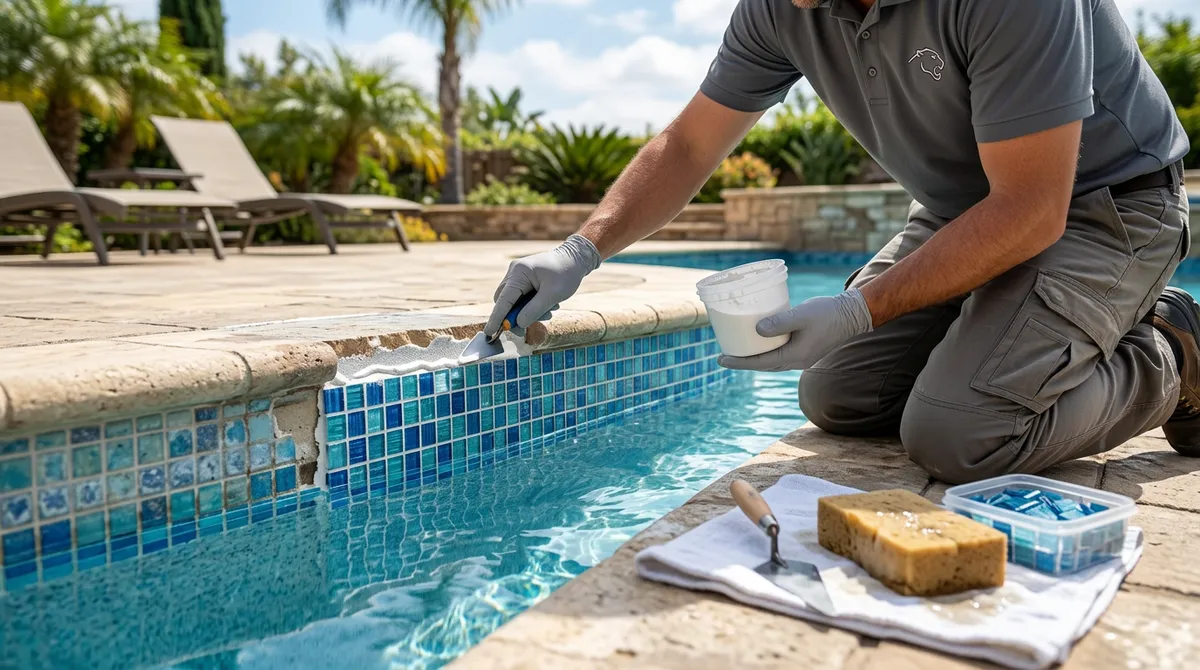
Step 4: Apply the Thinset or Mortar
Mix your pool-grade thinset according to the manufacturer’s instructions. Add a bonding additive for extra adhesion strength. Apply an even layer to the back of the new tile and to the wall surface. This “back-buttering” technique ensures a strong bond on both sides.
Step 5: Set the New Tile
Press the tile firmly into place and wiggle it slightly to remove air pockets. Use tile spacers to keep consistent grout joints. Tap the tile gently with your rubber mallet to set it evenly. Remove any excess thinset from the grout lines before it dries. Let the tile set for a full 24 hours before grouting.
The Independent Pool and Spa Service Association (IPSSA) recommends always using pool-specific adhesives and grouts to ensure long-lasting repairs. Using household tile products is one of the most common DIY mistakes.
Step 6: Apply Waterproof Grout
After the tile has cured for 24 hours, mix your waterproof pool grout. Apply it to the joints using a grout float, pressing it firmly into the gaps. Wipe away excess grout with a damp sponge before it hardens. Let the grout cure completely according to the manufacturer’s directions before refilling the pool.
Step 7: Seal Expansion Joints
Don’t forget the expansion joints — the gaps between the pool deck and coping. These need to be sealed with flexible urethane or silicone caulk to prevent water infiltration. Experts recommend resealing these joints every five years. Skipping this step is a leading cause of recurring tile damage.
Step 8: Refill and Balance the Water
- Slowly refill the pool to avoid sudden pressure on the fresh repair.
- Test the water chemistry once full.
- Adjust pH levels to between 7.2 and 7.6 for best results.
- Balance chlorine levels before anyone swims.
- Inspect all surrounding tiles by tapping to check for any other loose ones you may have missed.
Proper water chemistry is not just about swimmer safety. It also protects your new tile repair from premature wear. The EPA Pool Water Efficiency resources offer great guidance on maintaining balanced, safe pool water year-round.
DIY vs. Hiring a Professional: Which Is Right for You?
Not every pool tile repair is a good candidate for DIY. Knowing your limits is smart, not a weakness. Here’s a simple breakdown to help you decide.
| Situation | DIY Friendly? | Call a Pro? |
|---|---|---|
| 1-3 cracked or loose tiles above the waterline | Yes | Optional |
| Small chip or surface crack with no loose tiles | Yes | Optional |
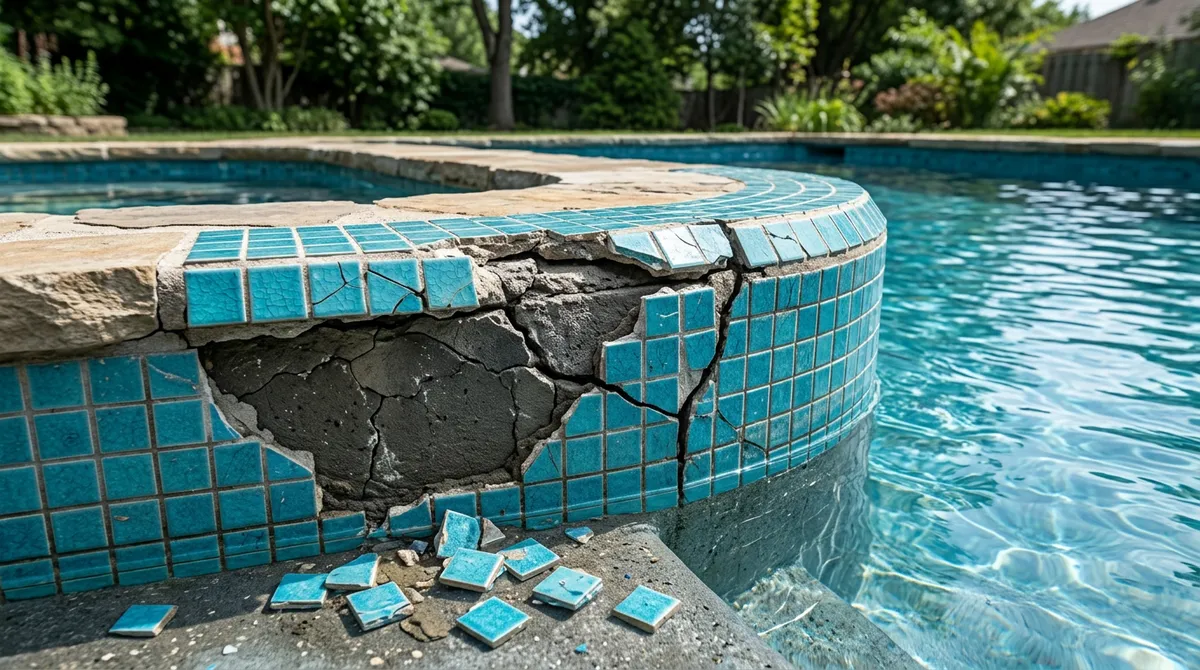
| Multiple rows of damaged tiles | Difficult | Recommended |
| Damage to the pool shell or structural cracks | No | Essential |
| Matching original tile color and texture | Tricky | Recommended |
| Repairs underwater or deep in the pool | No | Essential |
If your damage falls in the “call a pro” category, don’t stress. Getting expert help for bigger repairs actually saves you money in the long run. Poorly done DIY tile work often leads to repeat failures, more water loss, and bigger structural issues.
Panther Pools provides in-house repair and equipment services for Tampa pool owners, making it easy to get professional help without the runaround. Whether you need help with pool maintenance in West Chase or anywhere across the Tampa area, the team is just a call away.
After a long day of managing your pool, you deserve to relax. Treat yourself — Visit Mobile Area Massage of Tampa Bay for some well-earned rest, and keep your smile bright with a visit to Smile District, Tampa’s friendly dental team.
Tips to Prevent Future Pool Tile Damage
Once your repair is done, a little ongoing care goes a long way. Here are simple habits that keep your pool tiles looking great for years to come.
- Inspect tiles monthly: A quick tap test and visual check catch small problems before they grow.
- Maintain water chemistry: Balanced pH and chlorine levels slow chemical wear on grout and adhesive.
- Clean tiles regularly: Calcium buildup along the waterline weakens grout over time. Brush it away often.
- Reseal expansion joints every 5 years: This simple step prevents a surprising amount of tile damage.
- Schedule professional inspections: A trained eye catches things most homeowners miss.
If you’re in the Westchase area, Westchase Pool Service from Panther Pools offers reliable ongoing maintenance that keeps tile damage from sneaking up on you.
Learn more about the team behind the service by visiting the Panther Pools About page — a family-owned Tampa business with a real passion for clean, safe, beautiful pools.
Bringing It All Together
Pool tile repair is one of those tasks that feels intimidating at first but becomes much more manageable once you understand the process. Small repairs — a cracked tile here, a loose grout line there — are well within reach for most homeowners. The key is acting early, using the right materials, and not cutting corners.
For bigger jobs, structural issues, or when you simply want the peace of mind that comes with professional results, don’t hesitate to reach out to experts. A well-maintained pool isn’t just beautiful — it’s safe, efficient, and a true asset to your home or business.
Ready to get your pool looking its best? Get in touch with the Panther Pools team today for a free estimate and seven-days-a-week support from Tampa’s most trusted pool professionals.
FAQs
Q: What causes pool tiles to crack or loosen?
A: Pool tiles usually crack or loosen due to freeze-and-thaw cycles, chemical wear from unbalanced water, physical use, or improper installation. Florida’s shifting sandy soil can also put pressure on your pool shell over time, nudging tiles loose. The good news is that regular inspections help you catch these issues early before they turn into bigger headaches!
Q: Can I repair pool tiles myself, or do I need a professional?
A: You can absolutely handle small repairs yourself — like fixing one or two cracked tiles above the waterline — as long as you use the right pool-grade products. For bigger jobs, structural damage, or underwater repairs, it’s always a smart move to call a professional. Calling in the pros for complex repairs actually saves you money in the long run by preventing repeat failures.
Q: What materials are best for pool tile grout and adhesive?
A: Always use pool-specific waterproof products — never standard household tile grout or adhesive. Great options include pool-grade thinset mortar with a bonding additive for adhesion, and waterproof grouts like EZ Patch #4 for grouting joints. Using the right materials is the single biggest factor in making your pool tile repair last for years.
Q: How often should I inspect and seal pool expansion joints?
A: It’s a great idea to visually inspect expansion joints a few times a year and reseal them with flexible urethane or silicone caulk every five years. These joints allow the pool structure to expand and contract without cracking, so keeping them properly sealed prevents a surprising amount of tile damage. Think of it as a small task that saves you a big repair bill!
Q: How do I match new pool tiles to my existing ones?
A: Matching tiles can be tricky, especially for older pools where the original style may be discontinued. Start by taking a sample tile to a pool supply store to compare size, color, and texture. If you can’t find an exact match, a professional pool repair service can often source specialty tiles or suggest creative design solutions that blend beautifully with your existing pool style.